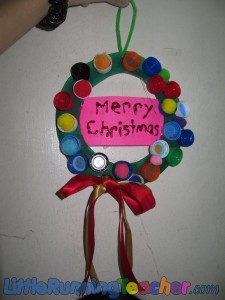
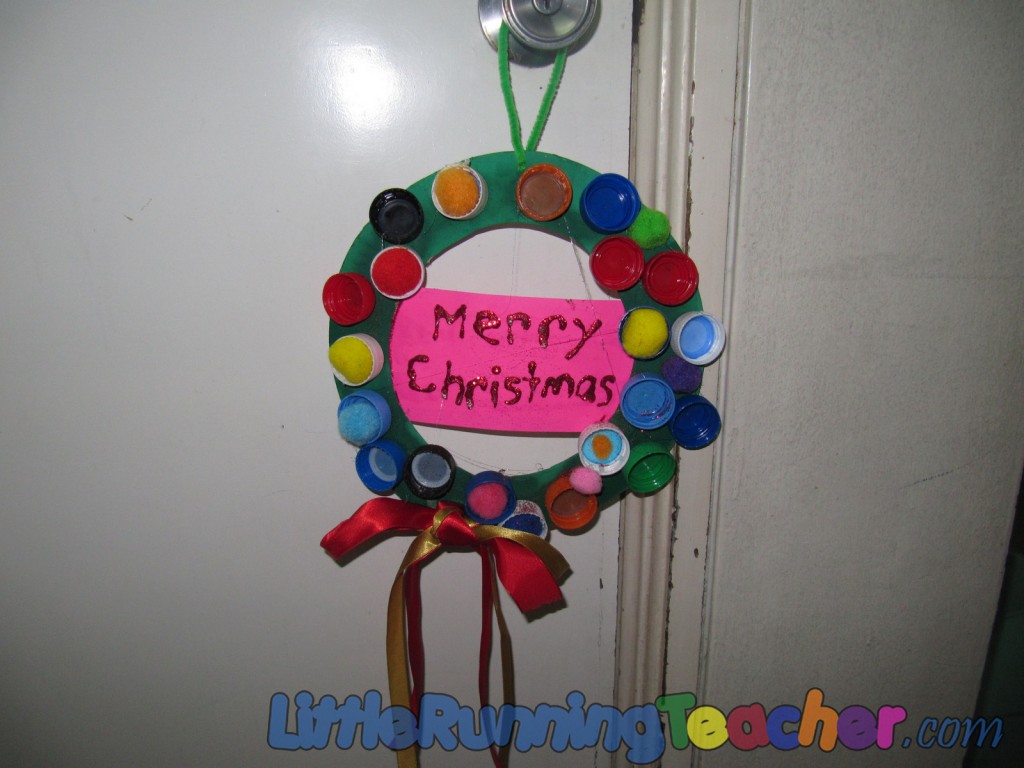
Who says you can’t make a Christmas decor using stuff lying around the house? This week, I decided to let my 8 year old tutee make her own Christmas wreath. I gave her suggestions as to what we can do and she chose to make a bottle cap wreath. It’s really easy to make and will sure bring some Christmas cheer when you hang it on the front door.
–
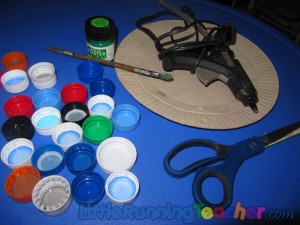
- Bottle caps
- Paper plate
- Green paint and paint brush
- Glue gun or other strong glues
- Ribbon
- Yarn or Fuzzy Wire
- Scissors
- Glitter glue or Glue and glitter powder (optional)
- Colored paper (optional)
- Pompom balls (optional)
- Puncher
–
–
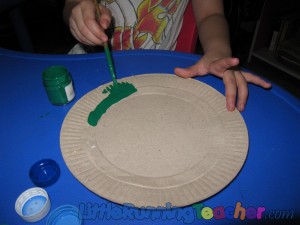
Steps 1 and 2:
If in a class, it would be easier to cut the center part of the paper plate first to form the base of the wreath. Since this was just a 1-on-1 activity, I let Jammy paint the paper plate first and just cut it out afterward. It’s really a lot less messy to let them paint before cutting.
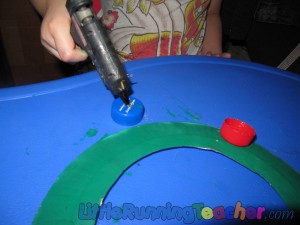
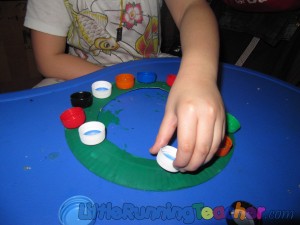
Step 3: Glue on the bottle caps. It doesn’t really matter which side is up, it really depends on the child. We chose to use a glue gun to stick the bottle caps, but I’m pretty sure there are other types of glue you can use for the younger kids.
*NOTE: be VERY careful when using the glue gun, we wouldn’t want any blisters now.
–
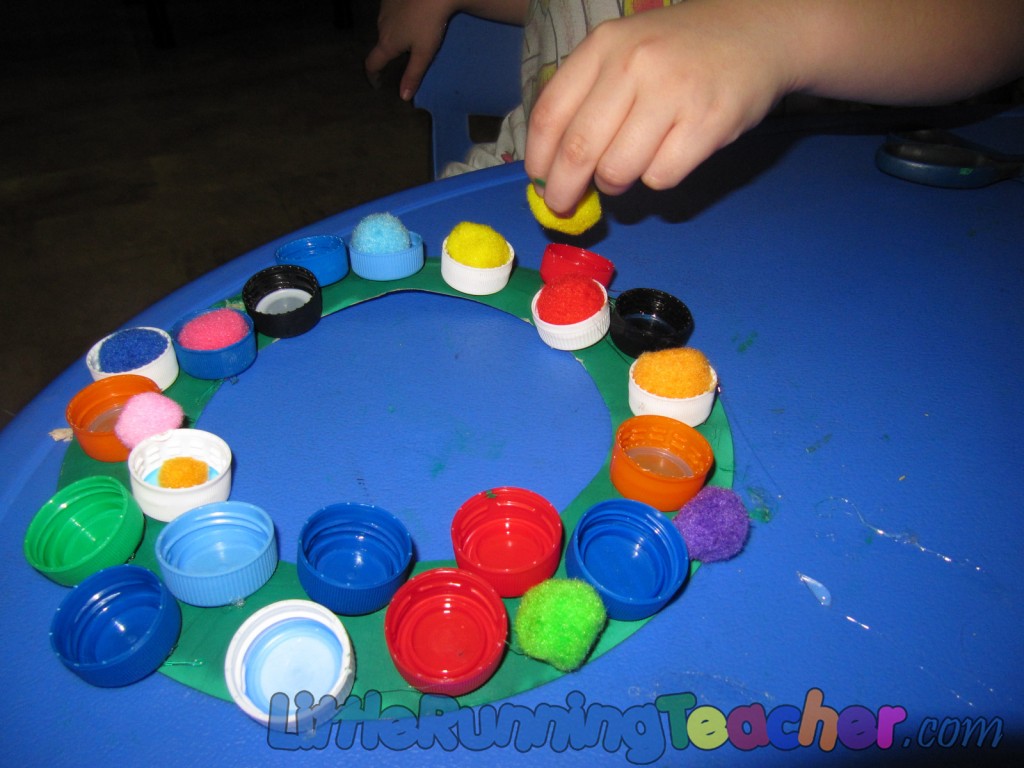
Step 4: You may add pompoms to add more color to the wreath
–
Step 5: Stick a ribbon on one end of the wreath
–
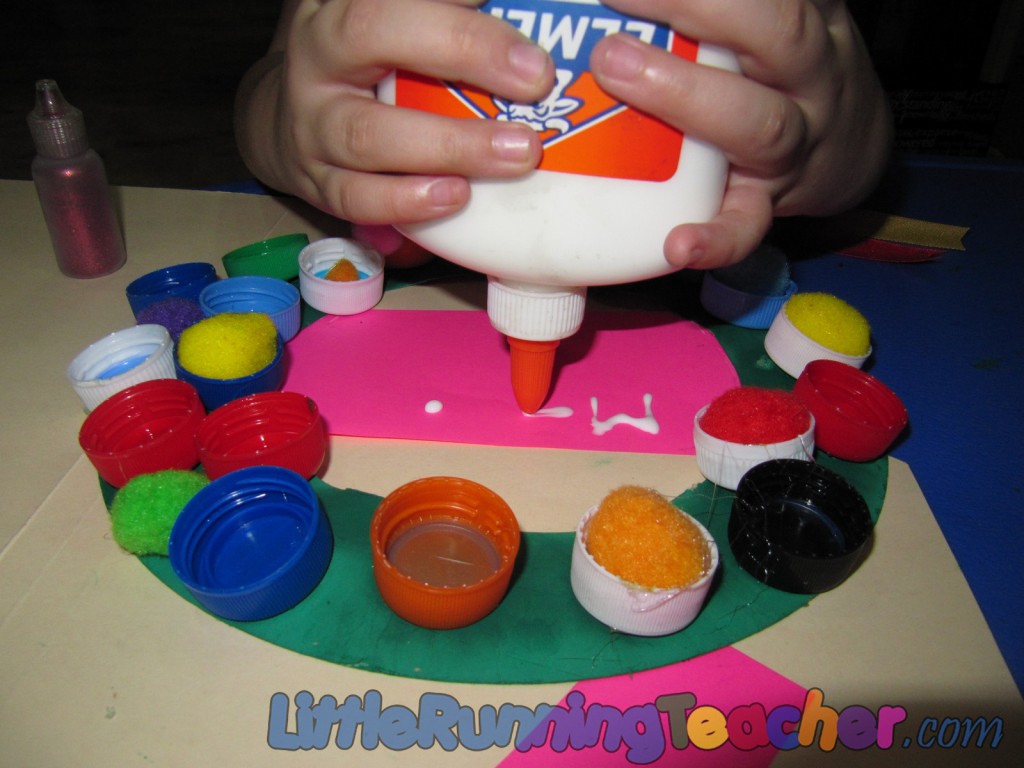
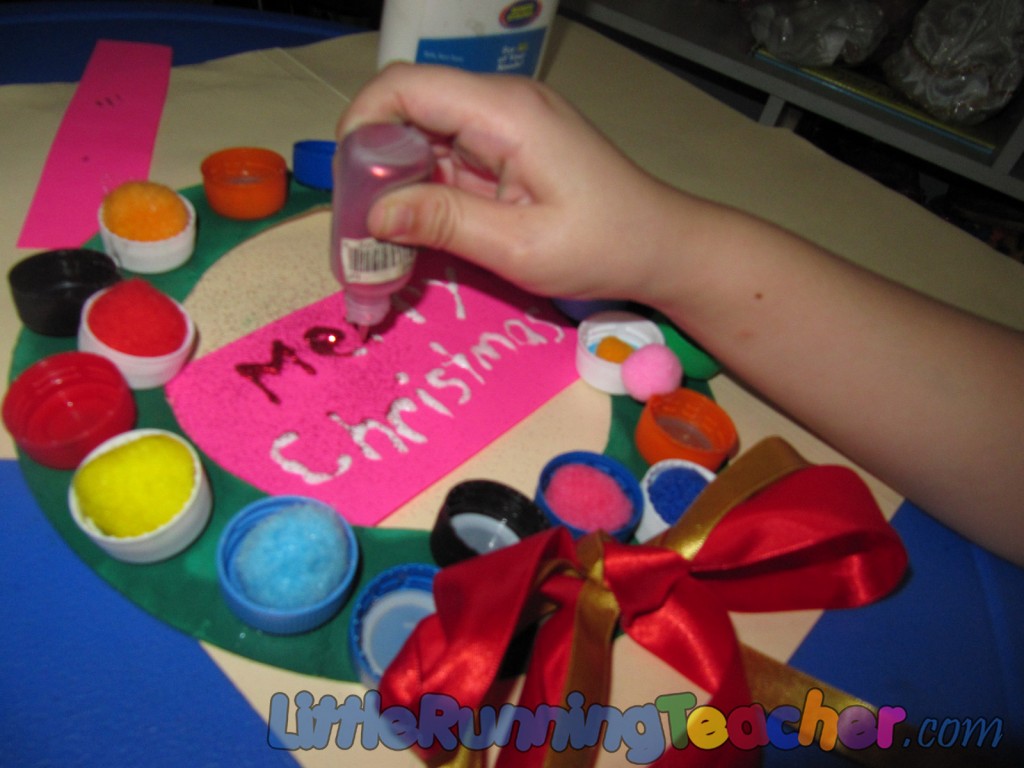
Step 6: We were supposedly done, but Jammy said something was missing. I asked her what it was and she said that there should be a big sign in the middle that says MERRY CHRISTMAS. So, I cut out some colored paper and let her write Merry Christmas using the glue. She sprinkled glitter powder afterward.
–
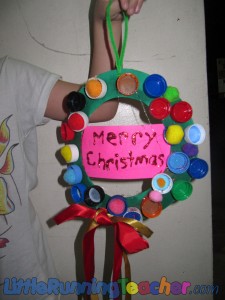
Step 7: Add the yarn or fuzzy wire on the top by punching a hole and your wreath is ready to be displayed. Happy Holidays everyone!
–
–
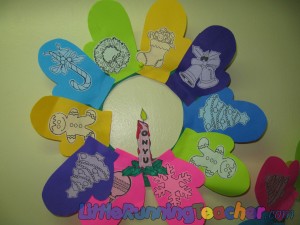
*************You might also want to try a mitten wreath for the younger kids:***************


