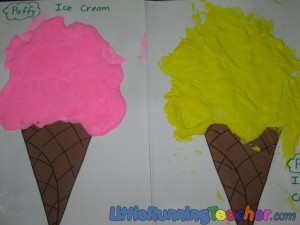
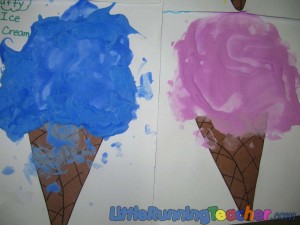
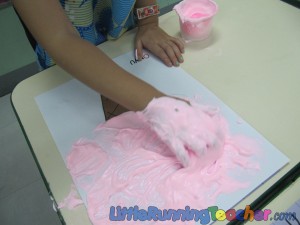
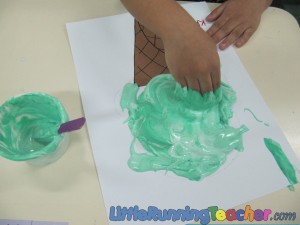
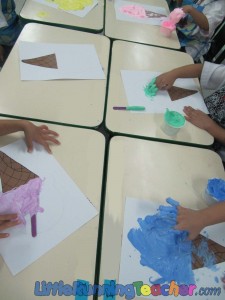
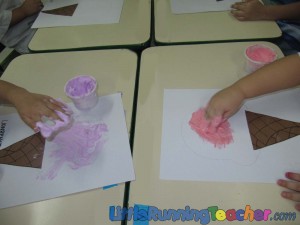
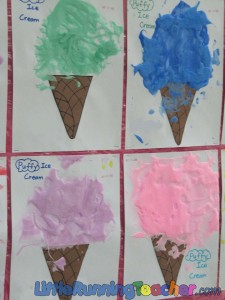
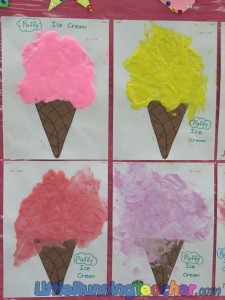
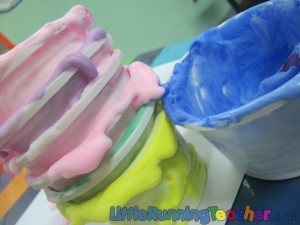
This has grown to be one of my FAVORITE art activities to date! Thank you TeachPreschool for sharing the idea! I always have so much fun watching the kids get down and messy! The way they do their art work also gives teachers a chance to see how the kids really are. We noticed how our naturally messy children did not have a problem getting as messy as possible, while our naturally clean kids were a little conscious as to how to touch the cream! The experience also gave them a chance to feel something new! I loved seeing the different reactions after they first felt the shaving cream! It was priceless! So get out those SHAVING CREAMS and make your very own PUFFY ICE CREAM!
.
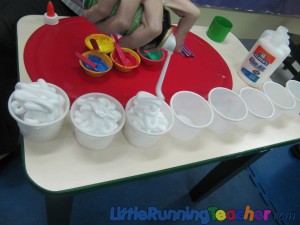
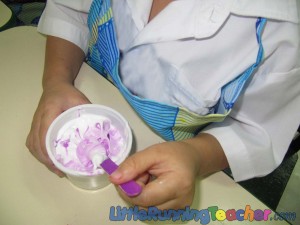
What I did was to set up everything in front of me and told the kids that we were going to have an ice cream party! I then put shaving cream and glue into all the cups. After which I told the kids to pick their flavor! Pink was strawberry, Red was apple, Blue was Blueberry, Green was Pistachio, Violet was Ube and Yellow was Mango. As I called them, they each told me their flavor and I dripped a few drops of paint unto the cup and handed it to them (along with the popsicle stick). They mixed and mixed and mixed! Until finally, it was time to scoop it up with their hands and put the ice creams on the cones!
.
Why don’t you make one yourselves?
.
What you will need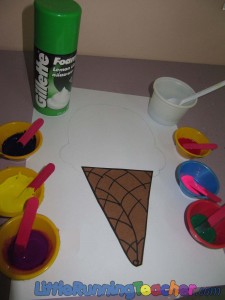
- Shaving Cream
- Glue
- Hard paper (Oslo paper/Easel board paper)
- Small cup
- Popsicle stick
- Brown Paper or Brown Crayon
- Paint of various colors
- White paint
.
.
Step 1: Before starting anything, make sure the paint is ready. Mix a little white to make the color a little bit more “creamy”. Also prepare some paper cones for the kids. If you do not have any brown paper, you can let the kids just draw/color the cones themselves. We opted to just stick the cone to the paper ourselves for the toddlers.
.
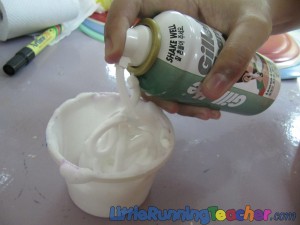
Step 2: Show the children the materials. They really enjoy seeing the shaving cream being sprayed! It’s a new experience for them. For those kids who can, it would be better to let them press it themselves.
.
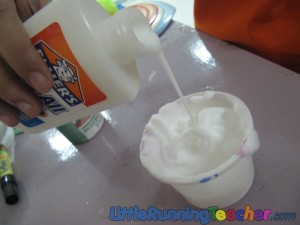
Step 3: Pour the glue. There isn’t really an exact amount as to how much you should put. I put almost the same amount of glue and shaving cream.
.
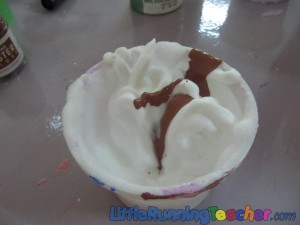
Step 4: Let the kids pick a color/flavor! Drop some “flavor” into the cup
.
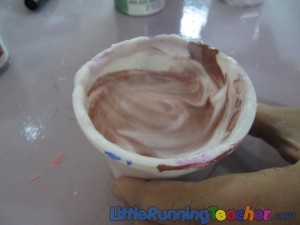
Step 5: Let the kids mix away!
.
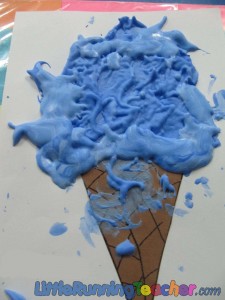
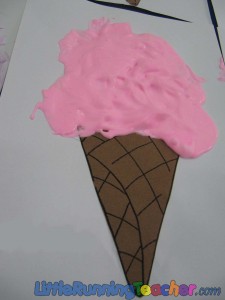
Step 6: Let them use their hands and spread the cream unto the paper. It’s really tons of fun to see their reaction from the unique texture
.
Step 7: It takes around 2-3 days to properly dry so though it’s tempting to poke (‘coz it’s really really soft and smooth), try to control yourself from poking it until it completely dries and hardens up a bit.
.
.
What’s left of our “ice creams”! Don’t they look so real and yummy? Don’t be tempted to eat them or you’re in for a tummy ache!
.
Note to Teachers: The mixture really looks like real ice cream so make sure you warn your students several times that it isn’t real! And even after, pay close attention to them! I told the kids more than 5 times that it wasn’t real ice cream, but I turn around for a second and one of my kid had the popsicle (full of cream) in her mouth!
.


