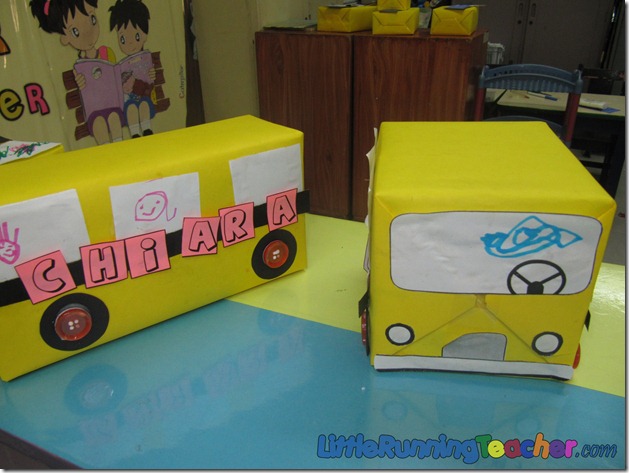
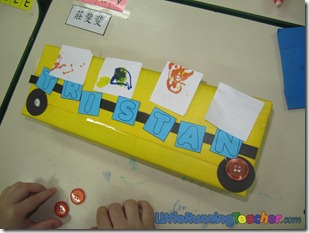
This activity was supposedly a really simple art and craft activity for our theme on transportation. However, as we were planning it, more ideas kept popping out and we eventually came up with this. The idea came from the teachers, but it wouldn’t have turned out this great if the kids weren’t as creative! Good job kids!
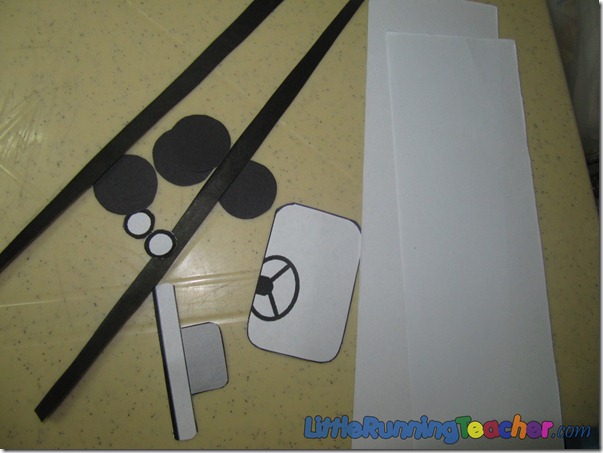
What you will need
- Shoe box
- Yellow cartolina/ paper
- Thin strip of black paper
- 4 circular cutouts (for the tires of the bus)
- Strip of white paper (for the windows) and a shorter strip for the front of the bus
- Coloring pens
- Glue
- Scissors
- Buttons
- Letters of the child’s name
What you will do:
Teacher’s Preparation:
1. Cut out everything that needs to be cut out
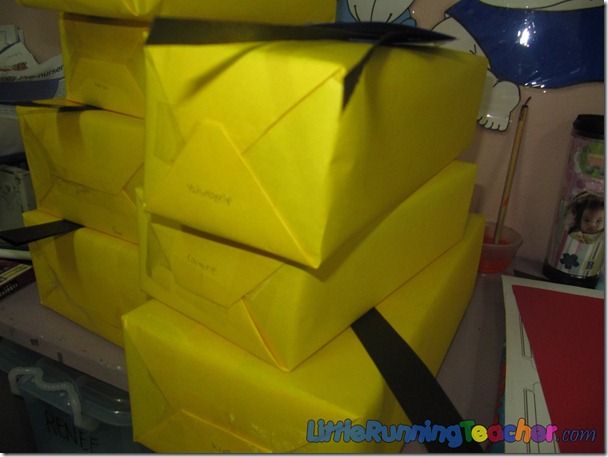
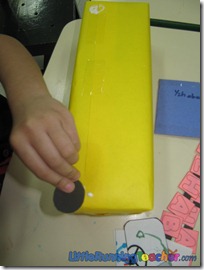
2. Wrap the shoe box with the yellow paper
3. Fold the white strip (windows) in 3 or 4 depending on the size of the box
Kids’ Turn
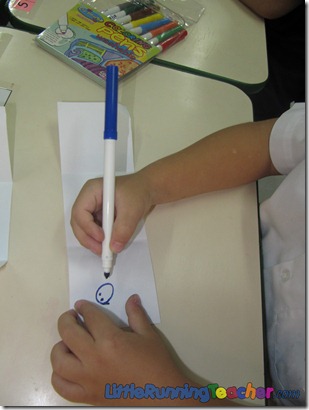
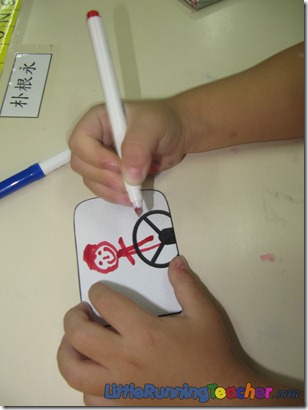
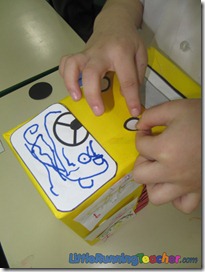
Step 1: Hand the kids the strip of white paper and have them draw the passengers on the bus, don’t forget to also have them draw the driver on the shorter piece of white paper
*You can separate the windows later on by cutting them apart (we didn’t cut it before they drew because the paper might be too small for them)
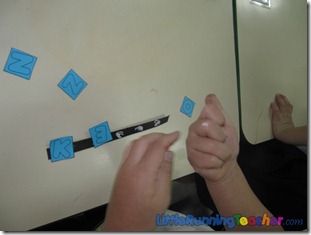
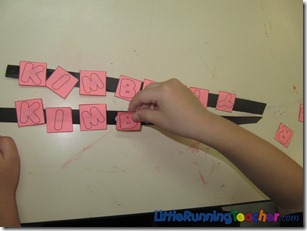
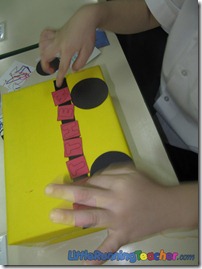
Step 2: Since we were also learning to write our names, we took advantage of this opportunity to have the kids arrange the letters of their names. Hand them the letters and have them arrange it on the black strip
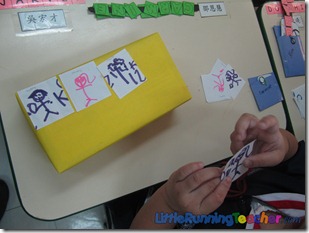
Step 3: Now it’s time to glue everything on! The windows, tires and their names! Don’t forget to also glue the button to the tires!
Enjoy your magical school buses! ![]()


