Easter is coming up in just a few days! I remember looking forward to this day because of the Easter Egg hunts! This week in class however, we let the kids try making their own egg salads (in line with our theme on food) and decorating their own eggs using food coloring! The activity turned out REALLY REALLY messy, but REALLY REALLY fun! Did I mention I ABSOLUTELY LOVE messy arts?? I feel these kinds of art activities are the ones that really give children the freedom to show their uniqueness and individuality! :)
–
What you will need:
- Eggs
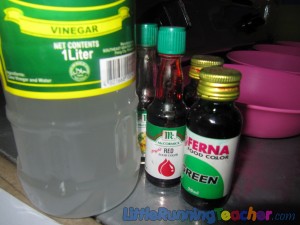
- Food Coloring
- Vinegar
- Small bowls
- Stove
- Towel or Tissue Paper
- Paint Brushes
- Rubber bands (optional)
- Masking Tape (optional)
–
Teacher’s Turn
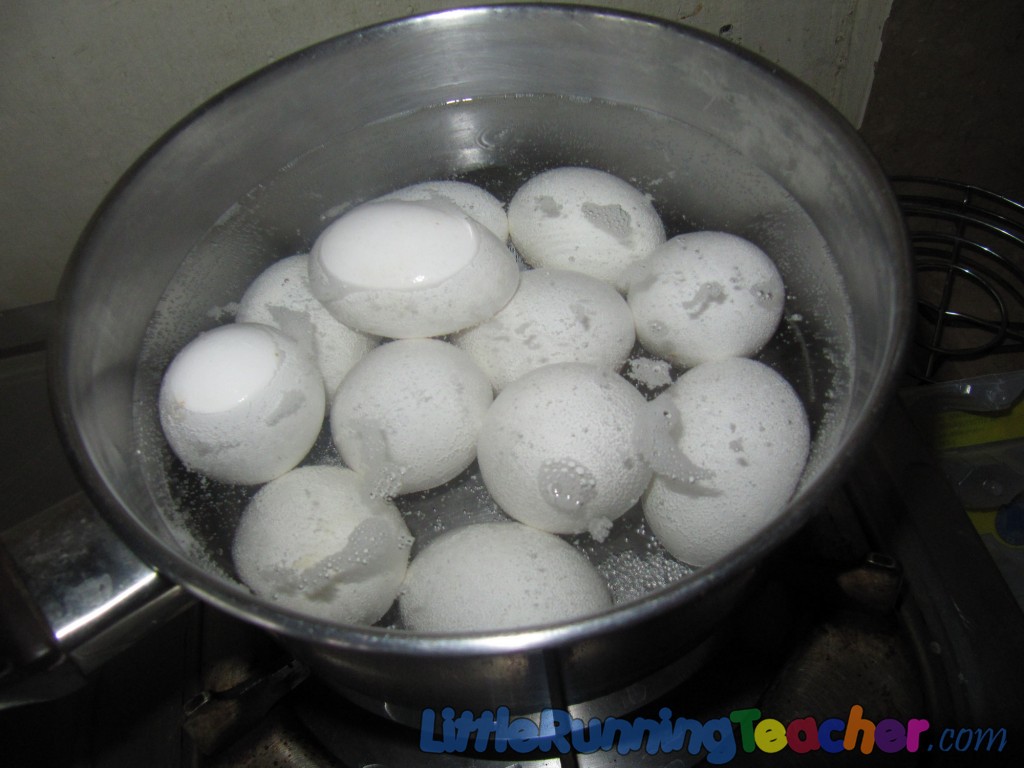
First of all, cook the eggs to make them into hard-boiled eggs. This way, the eggs won’t easily break. On the other hand, for older kids, you can poke a hole on top and at the bottom of the raw egg to take it out. This however will make the egg very fragile and they need to be very careful.
–
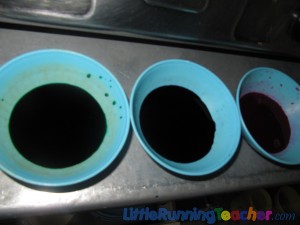
For the color, you need to mix 1 tablespoon of food coloring and 2 teaspoons of vinegar. (I honestly am unsure what the vinegar is for, I just followed a recipe online. I’ve tried it though and it works so.. can’t complain)
–
–
Kid’s Turn
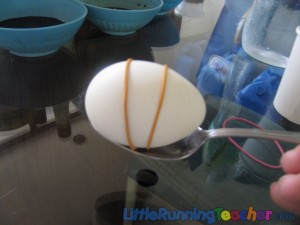
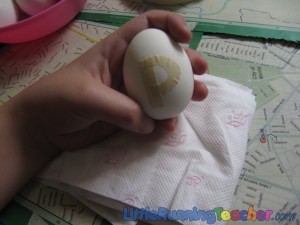
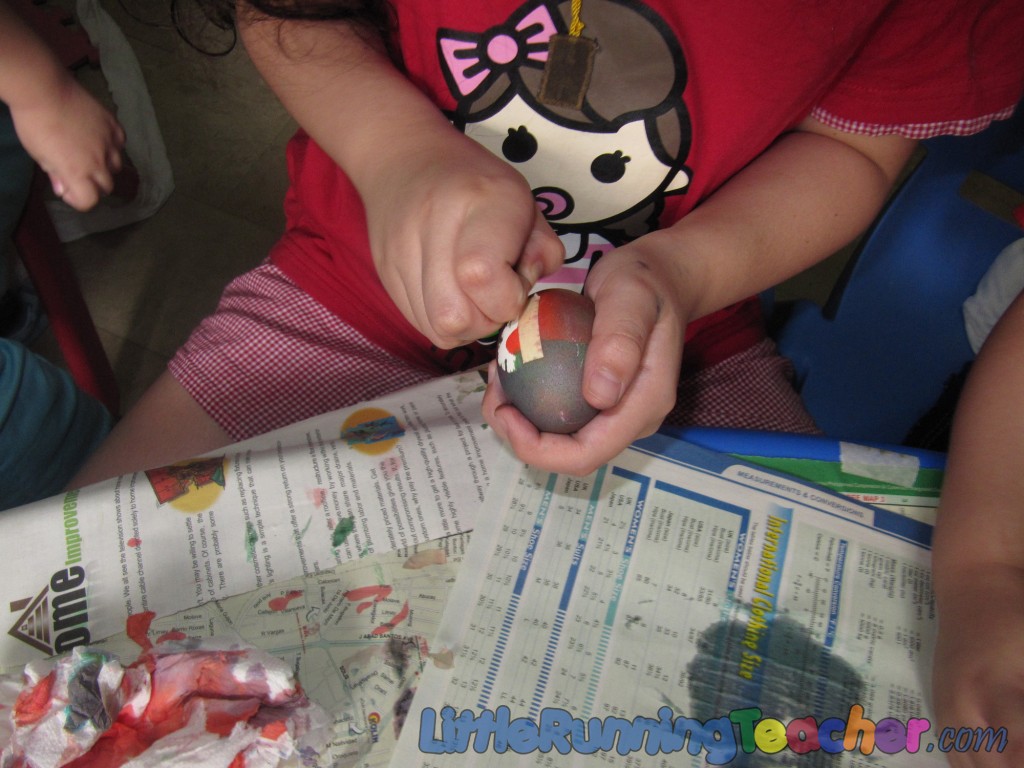
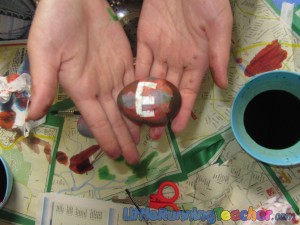
Step 1: Before painting the egg, you could first decorate it with tape or rubber bands.
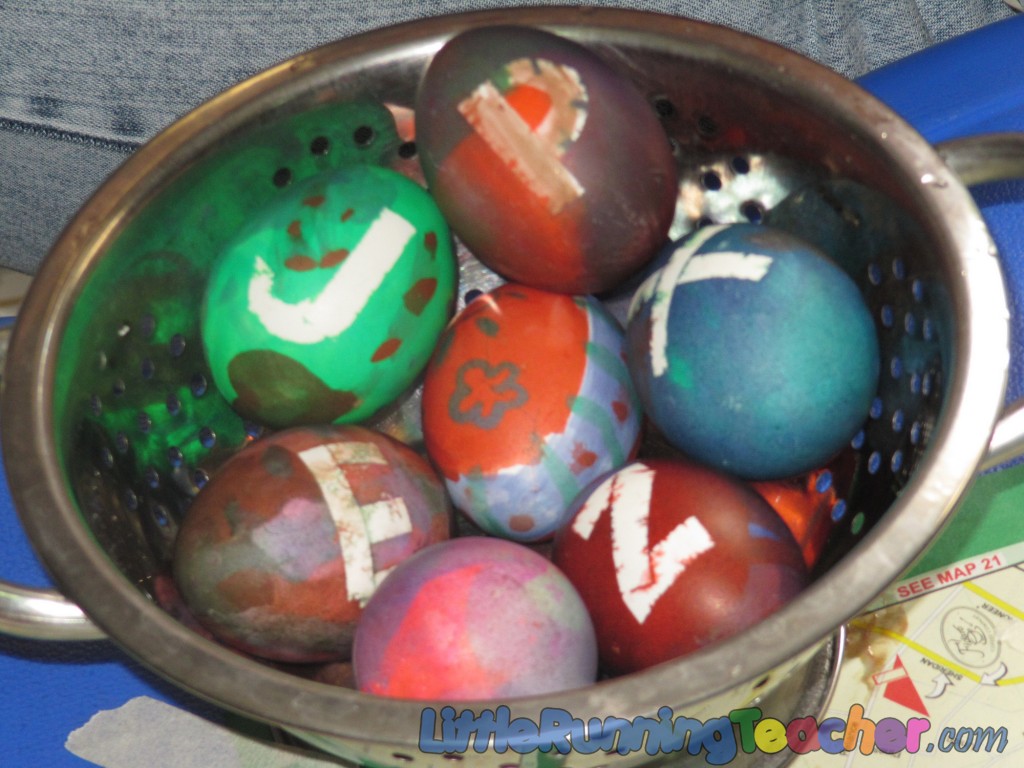
I tried putting rubber band but it kept popping off so I didn’t have the kids do it. The kids on the other hand wanted the letters of their names so I assisted them in cutting out the letter shapes
–
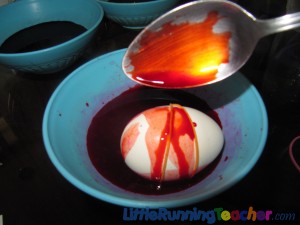
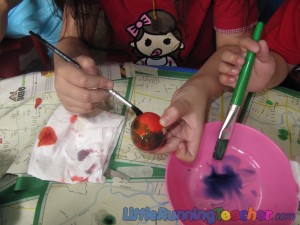
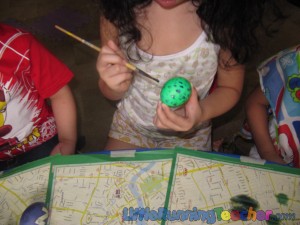
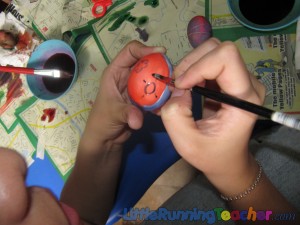
Step 2: After covering the parts you do not wish to stain, start painting your egg. You may either dip the whole egg, or carefully paint it with a paintbrush.
–
–
Step 3: Wipe off the food coloring immediately after painting it. Don’t worry, it will stick!
–
–
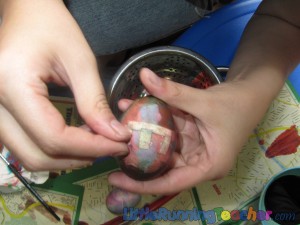
Step 4: Remove the tape or rubber band
–
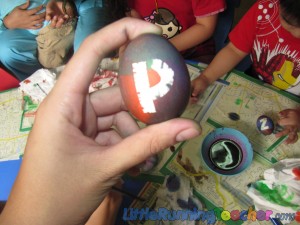
Step 5: Display your beautiful Easter egg!
–
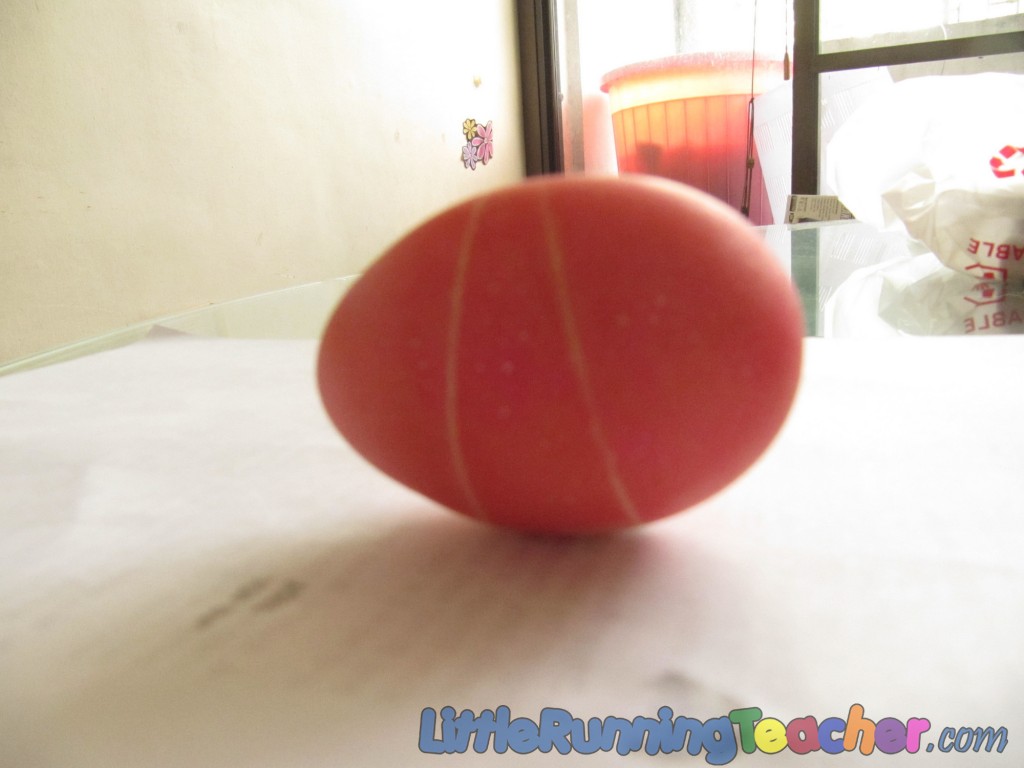
Oh, and here’s how my “rubber-banded” egg turned out!
–
The egg may still be eaten afterward, just make sure there weren’t any cracks when you painted them.


