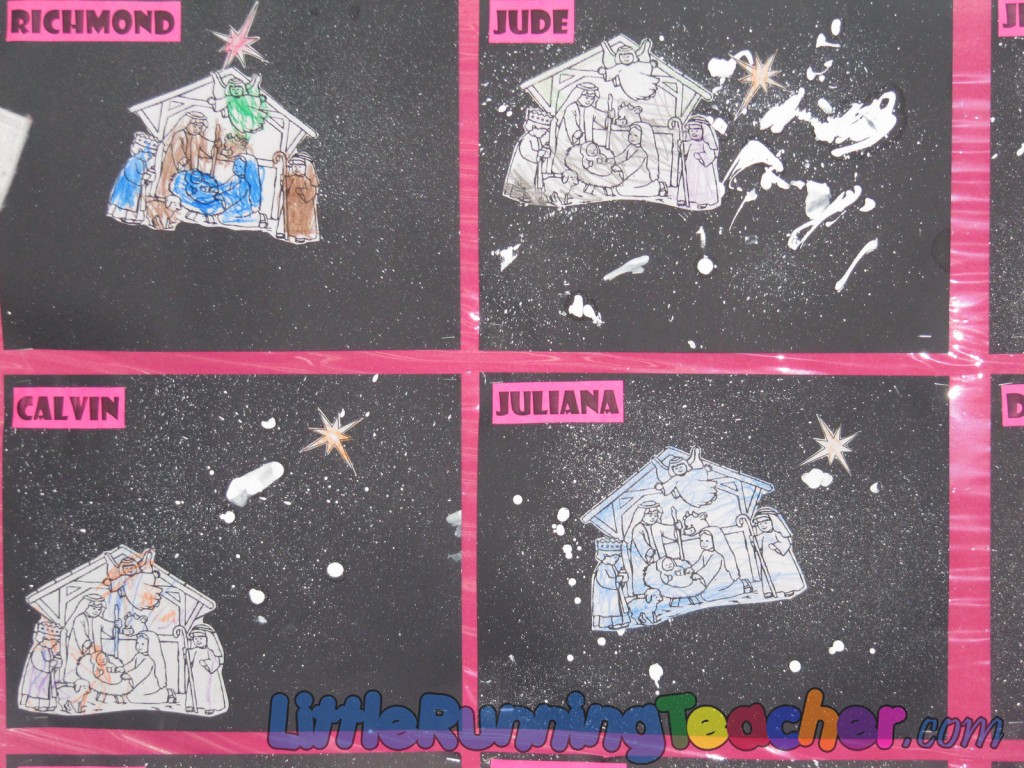
2 years ago, I had my practicum or on-the-job training at a nearby preschool. After several months of observing and training first hand, it was finally time to do my teaching demo. It was December so I was asked to teach something about the nativity. As for the art work, I was asked to teach the kids the colors black and white.
The first thing that popped into mind was…. “How in the world can I teach black and white and incorporate it with the Christmas story?” but with a little imagination, I figured it out.
Toothbrush painting.
–
What you will need
- White paint
- Black paper
- Old toothbrush
- Nativity Scene print out (I just googled it)
- Star print out (Just one big one)
- Crayons
- Scissors
- Glue
–
This is a two-day activity since it would be difficult to color the nativity scene if it were already cut out. Hence, the teacher would need time to cut it out so they can glue it unto the “starry night” background.
–
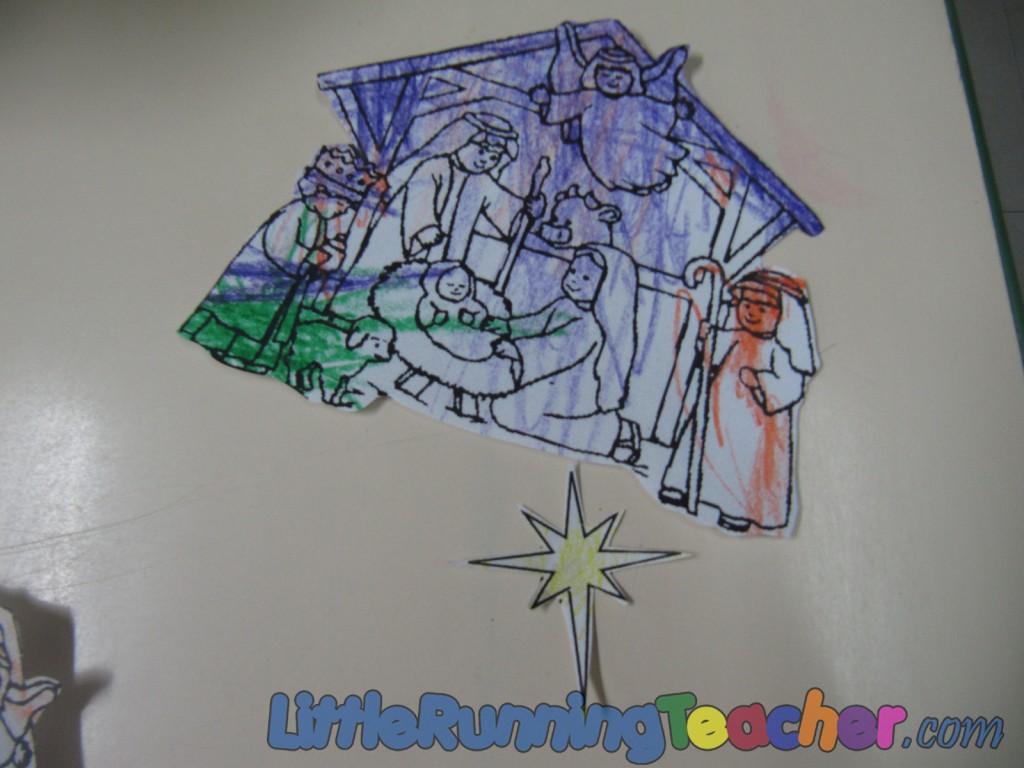
Step 1: Color the nativity scene and star
Step 2: Cut out the nativity scene and the star
–
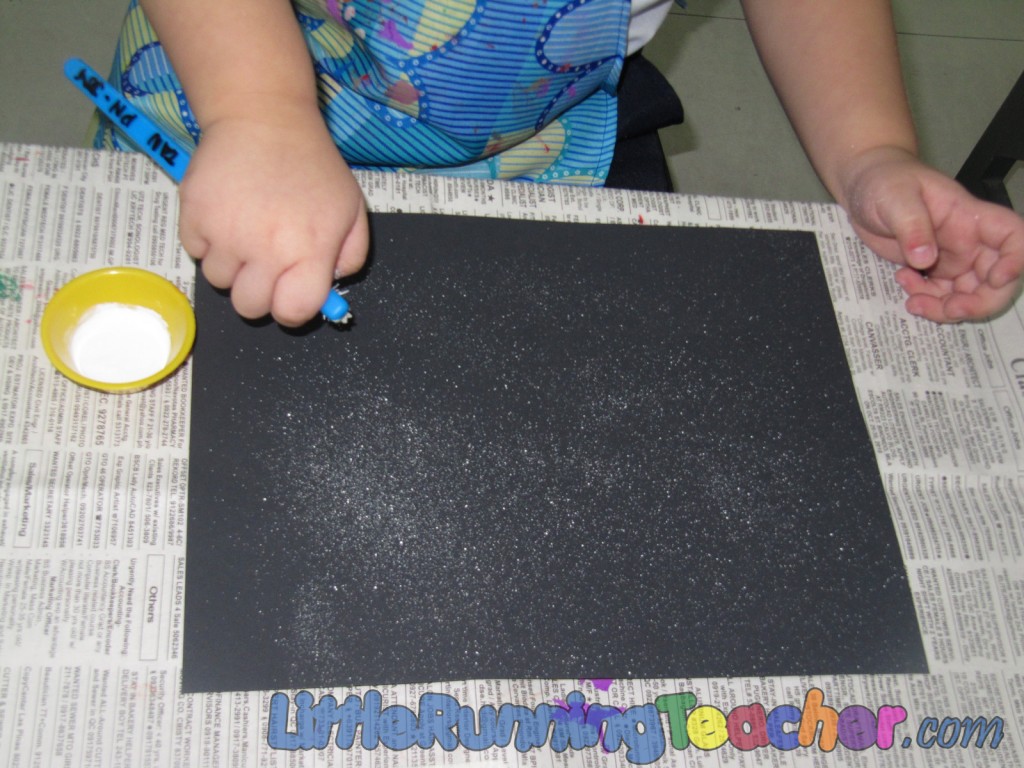
Step 3: Let the kids start painting the starts unto the black paper using the toothbrush and white paint
–
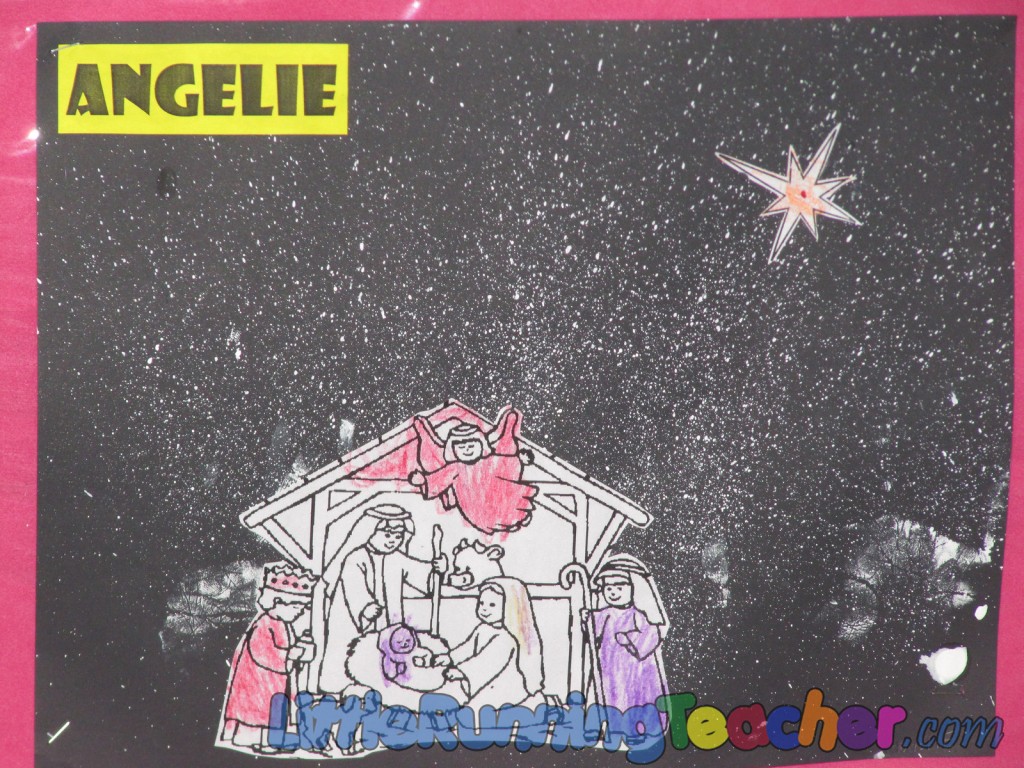
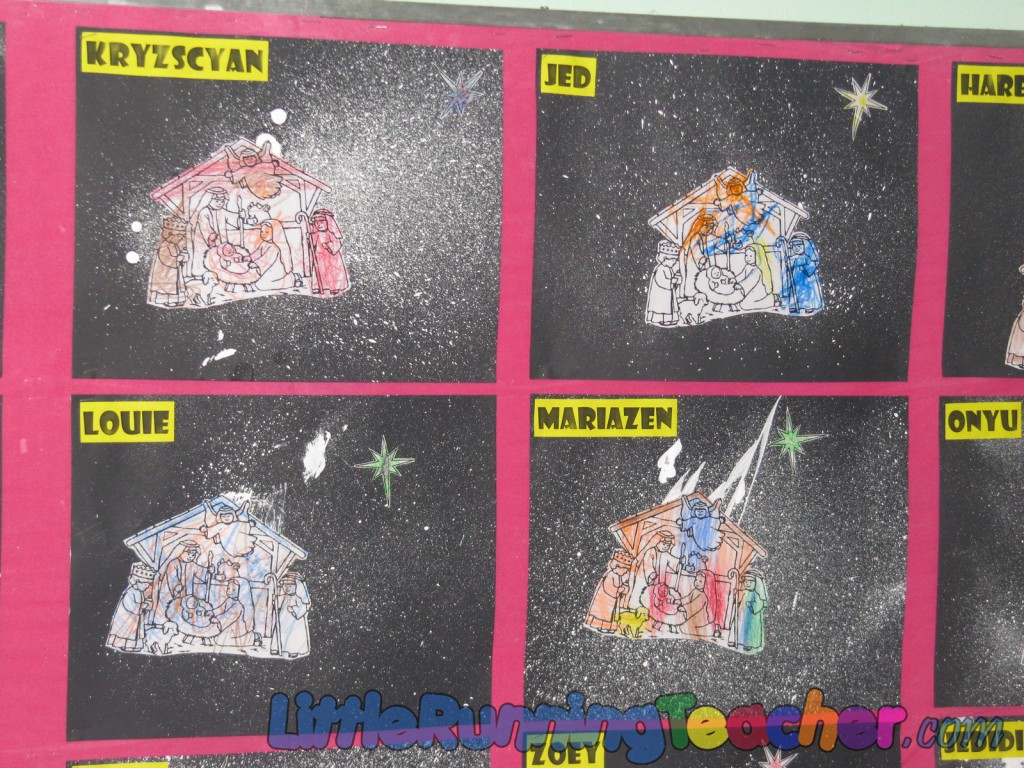
Step 4: Let dry then glue on the cut-out nativity scene


