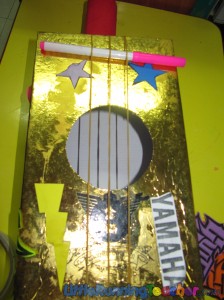
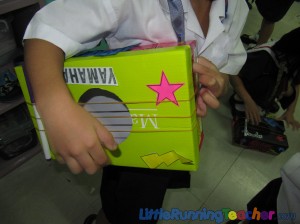
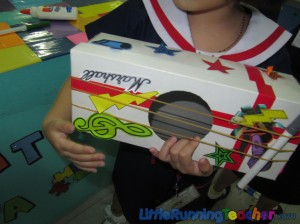
Most kids love making any kind of sound or music using whatever materials possible. I remember loving to make a whole lot of ruckus myself when I was younger. It’s cute and funny how every random thing around them can be made into anything they want with just a little imagination. But of course, it doesn’t hurt to also make our own instruments using recycled materials!
We thought of making guitars because of our students’ fascination over it. We noticed how they enjoyed playing the “air guitar” every time we played a song. They’d imagine they were holding a guitar and start strumming their fingers and banging their heads. And so when we told them we were making guitars, they literally jumped for joy!
–
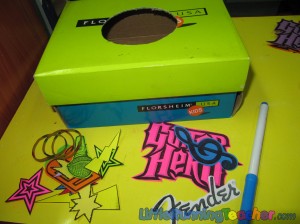
- Old shoebox or tissue box
- 2 Tissue cores or 1 long one
- Rubber band
- Glue
- Old pen/marker
- Stickers
- Scissors
–
–
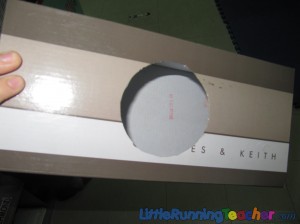
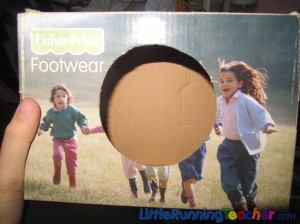
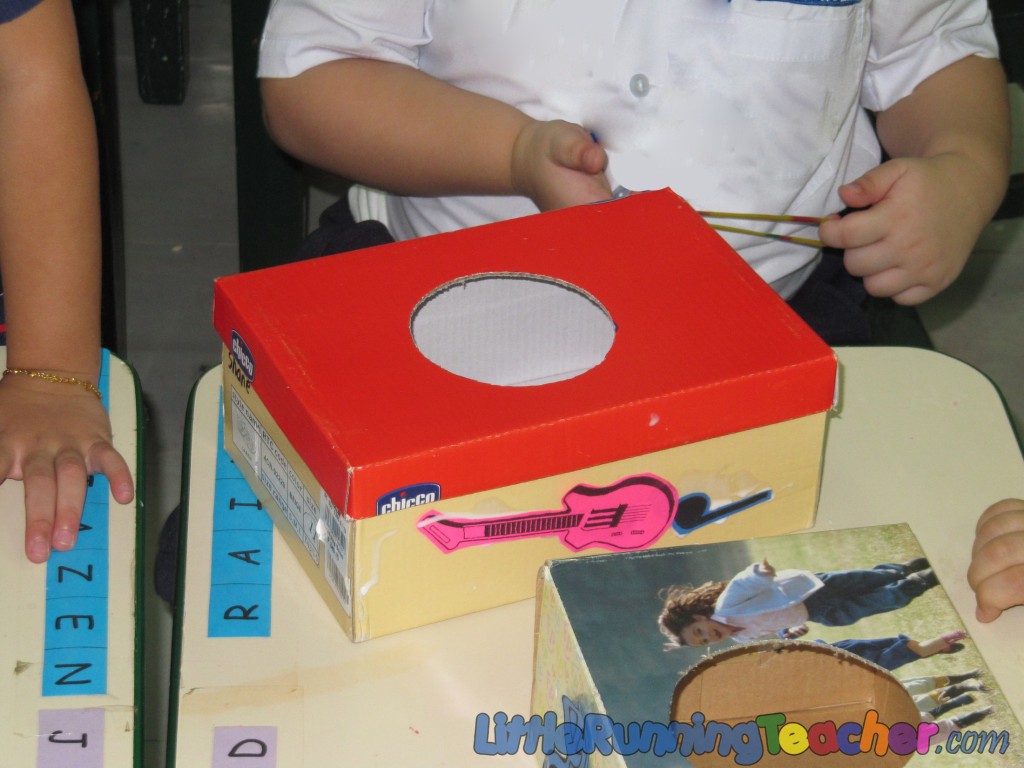
Step 1: If you’re using a tissue box, then you need not do this part anymore. However, if you’re using a shoebox, you need to cut a hole in the middle. Does not necessarily need to be round. :)
–
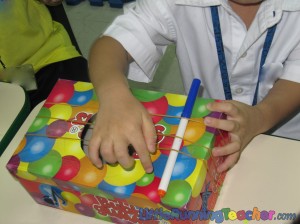
Step 2: Let the kids start decorating the box (We put one rubber band around the box just so the lid doesn’t keep coming off)
–
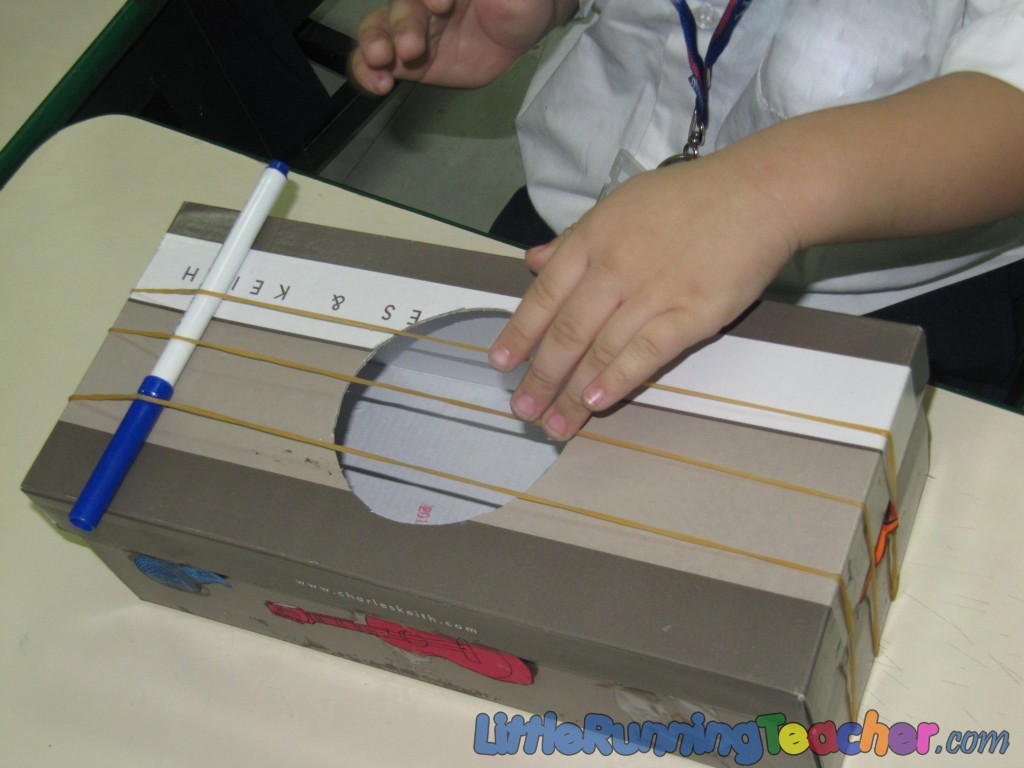
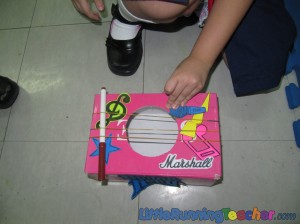
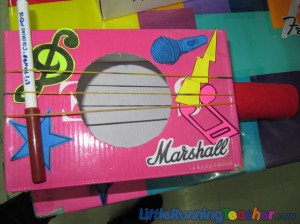
Step 3: Put some rubber bands around the box. 3 pieces will do
–
Step 4: Insert a pen or marker just a few inches away from the hole. This is important for the kids to be able to strum the rubber bands.
–
Step 5: Glue on the tissue core by cutting the end a bit to flatten it out
–
–
The kids had fun playing with the guitars…EVEN WITHOUT THE HANDLES (tissue core) yet. They were already eager to start strumming!


