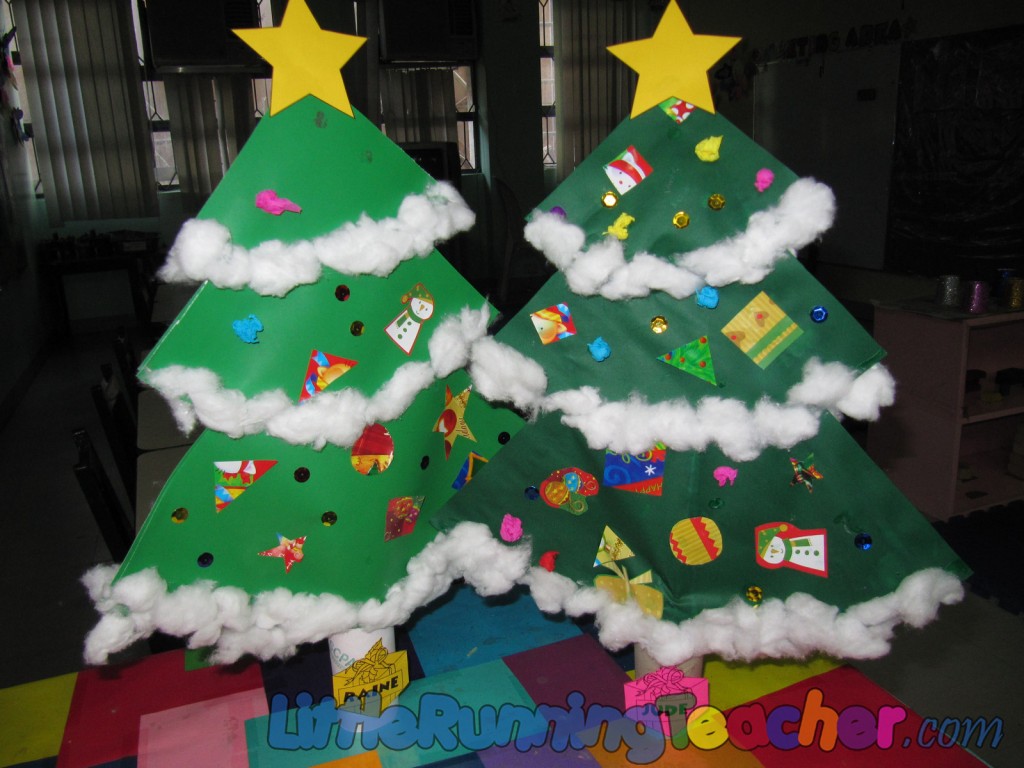
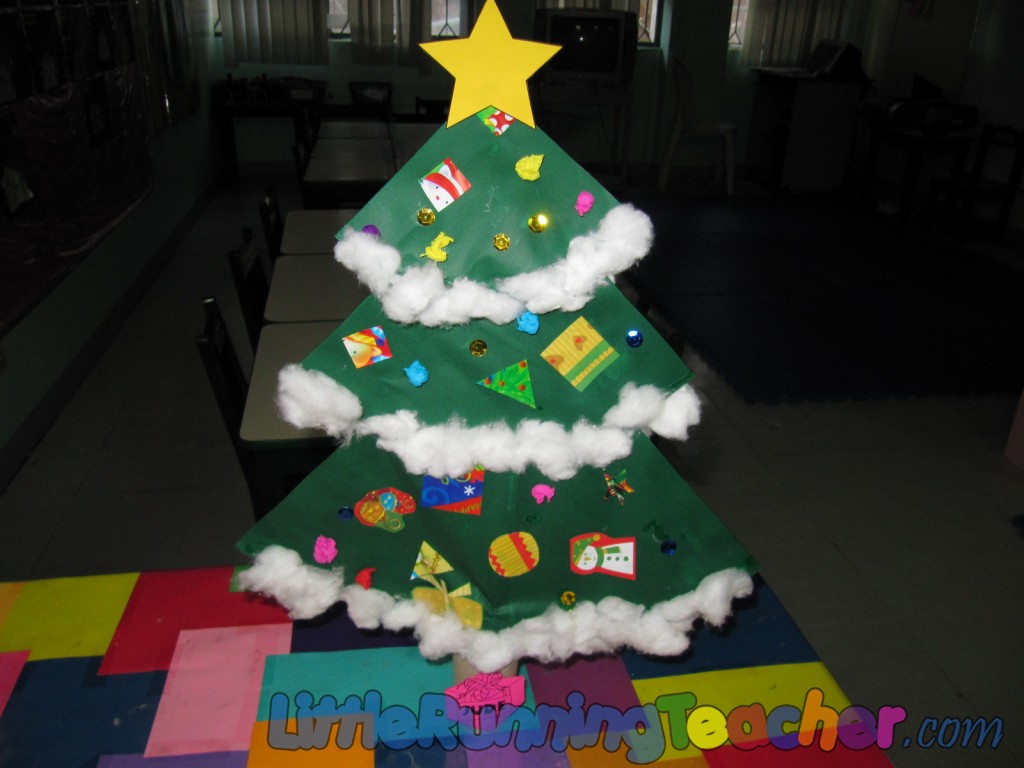
In my opinion, Christmas just wouldn’t be complete without a tree. It is only my 2nd year of teaching and still I wish we had a tree in our classroom. I want to buy one but it’s kinda more expensive than I want it to be. Hence, my partner and I decided to make our own Christmas tree… or rather, let the kids make their own tree.
We didn’t want it to be just any tree, we wanted a big tree they could display at home.
–
What you will need
- Green paper
- Tissue Core
- Barbecue Stick
- Glue
- Scissors
- Colored crepe paper/tissue paper
- Cotton
- Gift wrapping paper
- Sequins
- Other scrap-booking materials
–
TEACHER’S PREPARATION
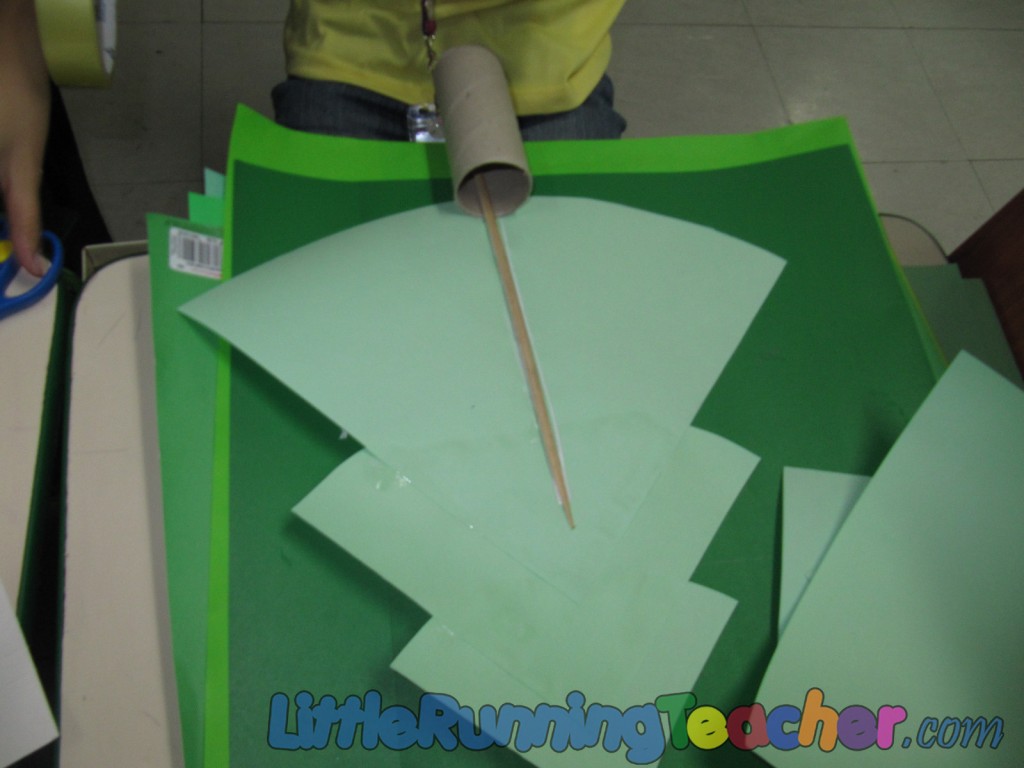
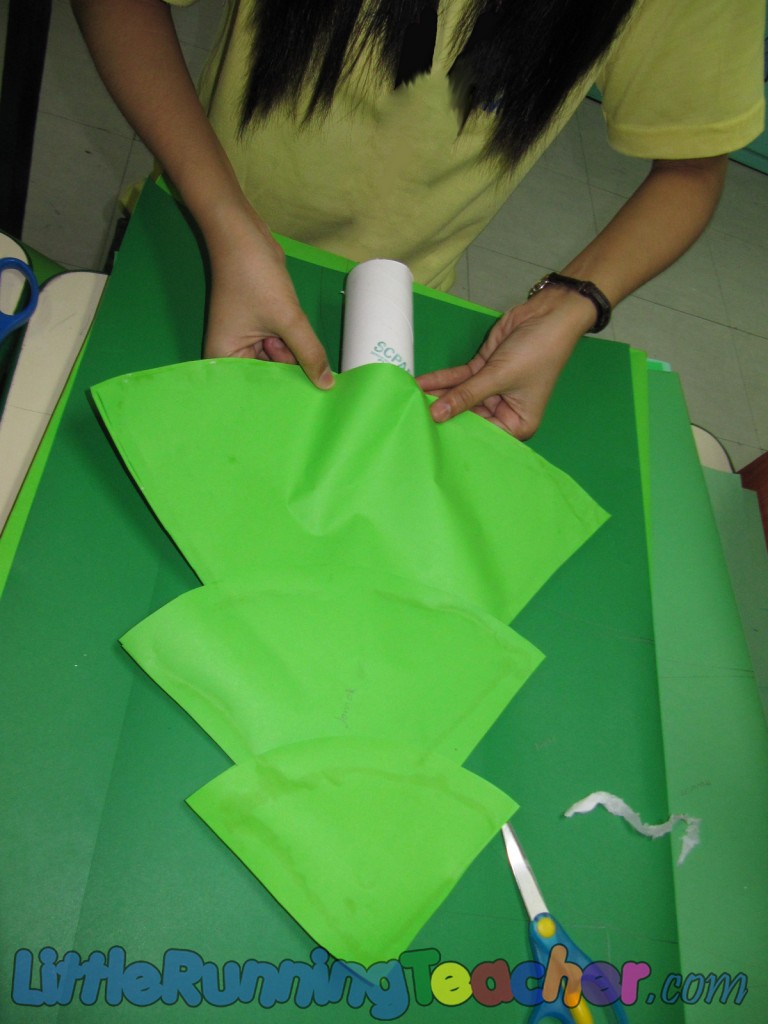
Step 1: Cut out 3 triangles of different sizes for the tree. 2 for each size.
–
Step 2: Glue the tissue core at the bottom and a barbecue stick in the middle for extra support.
Step 3: Close up the Christmas tree by gluing on the other side
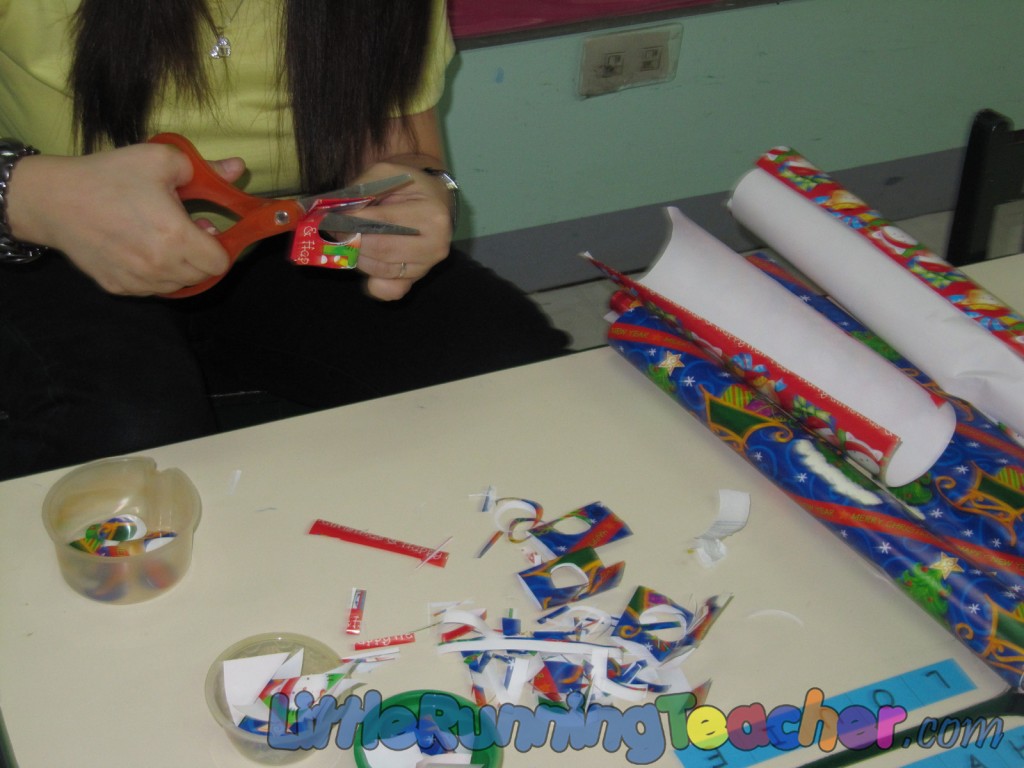
Step 4: Cut out some holiday wrapping paper and ball-up some colored tissue papers to be used as decoration
–
KID’S TURN
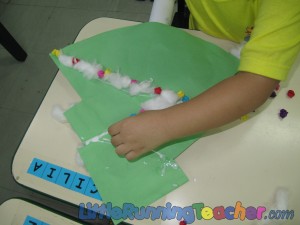
Step 1: Glue the cotton unto the Christmas tree. (I showed the kids 2 varieties and asked them if they wanted the cotton in layers or zigzag)
–
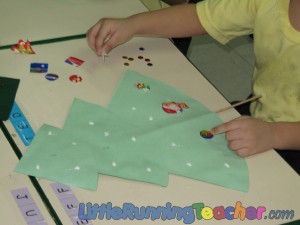
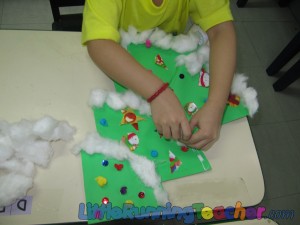
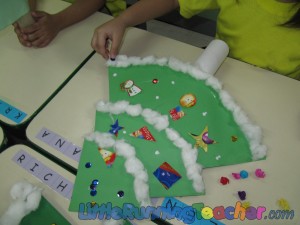
Step 2: Let them glue on the sequins, balled-up tissue paper, cut-out wrapping paper and other materials you have (For some kids, we just handed them all the materials and they came up with their own styles)
–
Step 3: Glue on the star for the final touch
–


