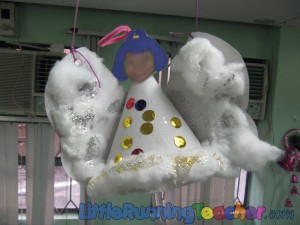
Another great craft this holiday season would be to make Christmas angels! But why limit it to the holidays? You can do it all year round! It would even be a wonderful activity for the start of school!
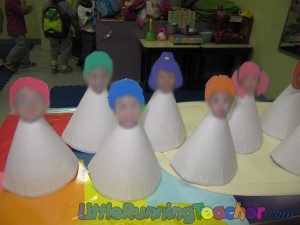
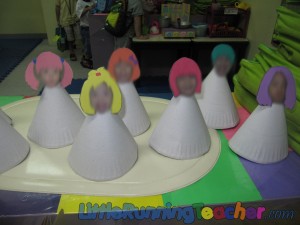
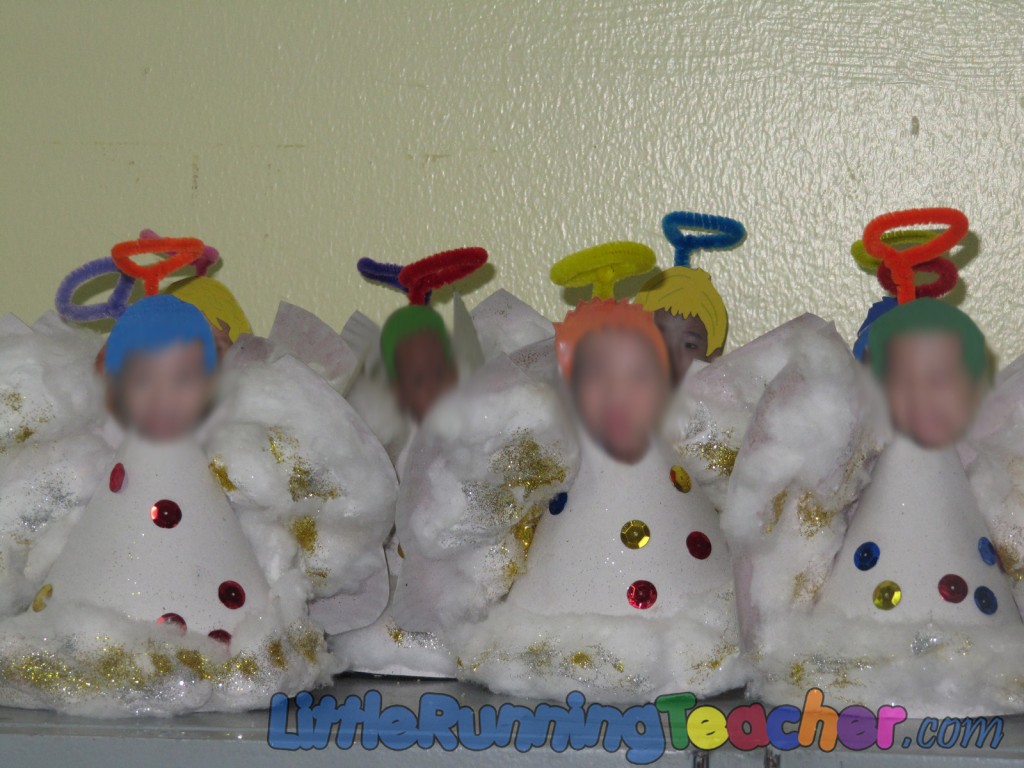
We wanted the toddlers to have their own personalized angels, but we wanted it to be different. So with the help of Adobe Photoshop, I made some funky looking faces for the kids by changing their hair color and making them look a little bit like cartoons. They didn’t even recognized it was their face until we told them!
This activity can be done in 1 day but I suggest you allot 2 days for it.
–
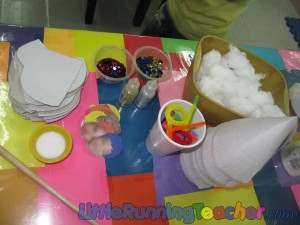
- Big Paper plate
- Cotton
- Sequins (or other small objects to decorate the angel)
- Print out faces of kids
- Glitter (optional)
- Fuzzy Wire
- Stapler
- Yarn
- Puncher
- Glue
- Glue and Water Mixture
- Paint brush
–
TEACHER’S PREPARATION
Step 1: Print out faces of the kids. If you’re familiar with Adobe Photoshop, you may change their hair color as I did. I just painted it and added some effects to make it look more natural.
–
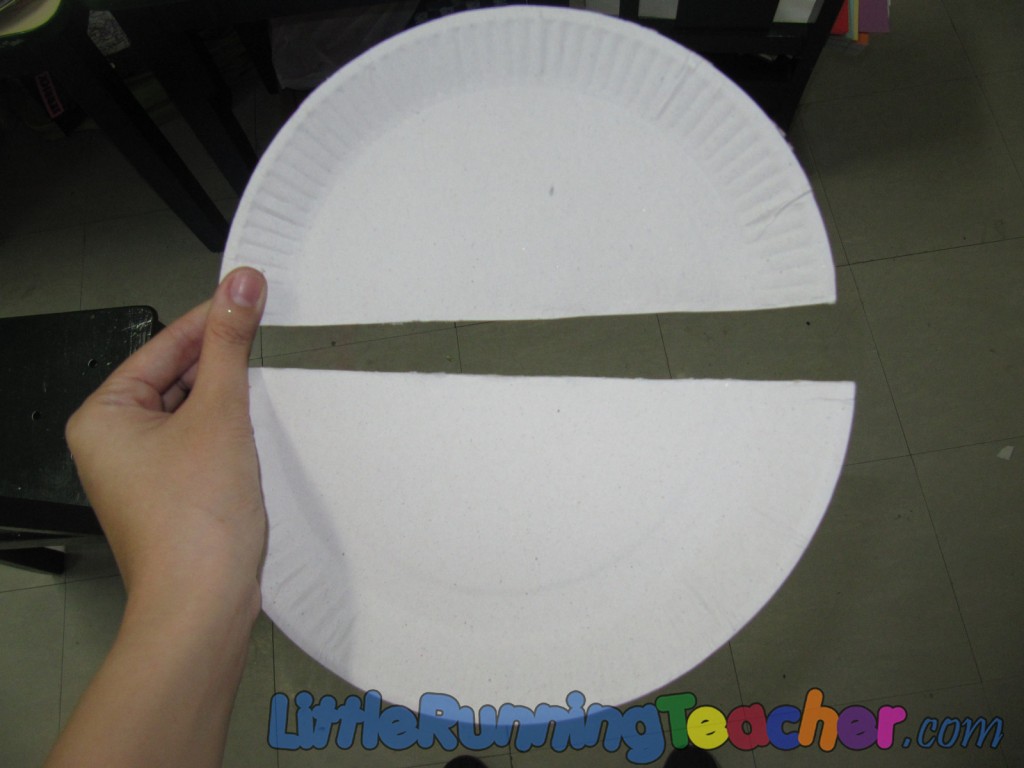
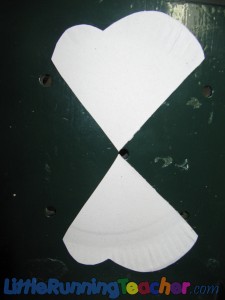
Step 2: Cut the paper plate in half. Half would be use for the body and the other half for the wings
–
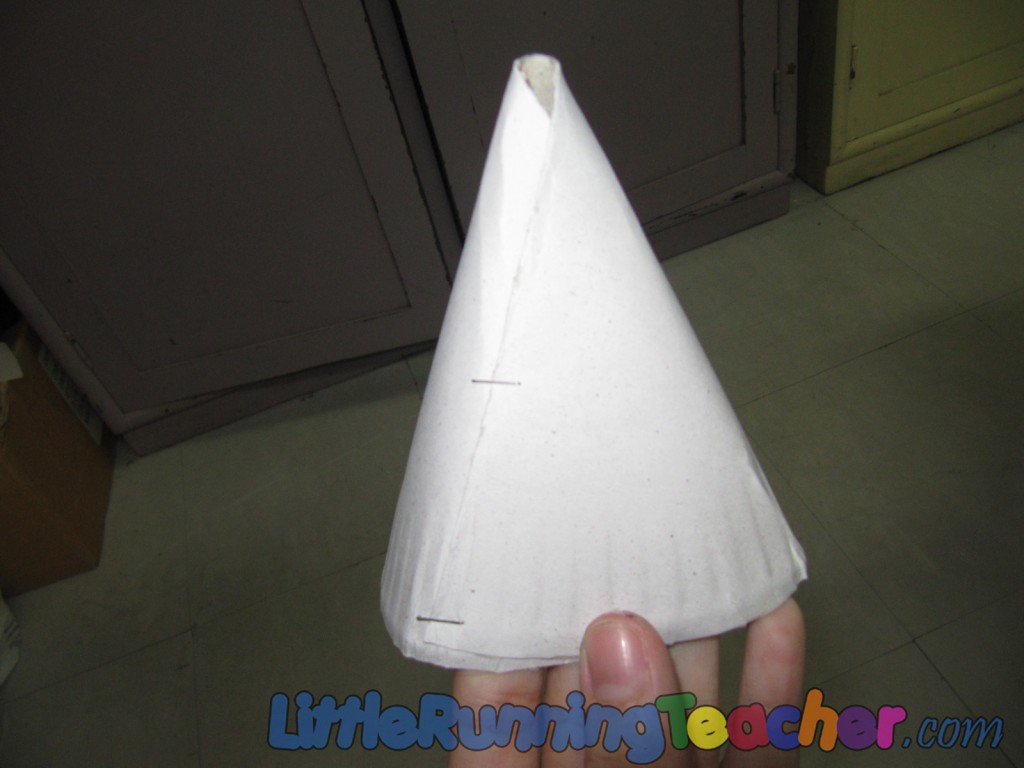
Step 3: (BODY) Using half the paper plate, fold it until it forms a cone. Staple the ends together
–
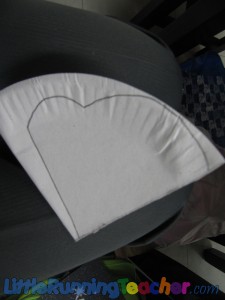
Step 4: (WINGS) Fold the other half of the paper plate, draw your wing pattern and cut it out
–
–
Step 5: Glue the face unto the tip of the cone
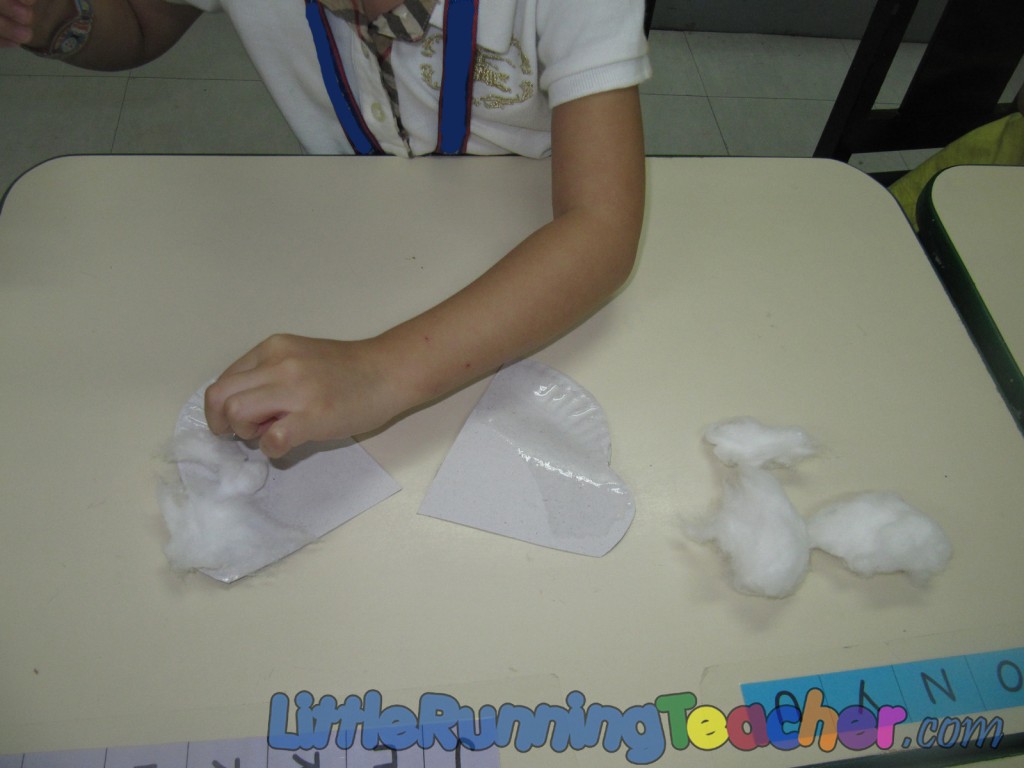
*Note: Don’t glue the wings unto the body yet. It will be a lot easier for the kids to add the cotton while the wings are unattached.
–
KIDS’ WORK
Step 1 (WINGS): Glue cotton to the wings.
–
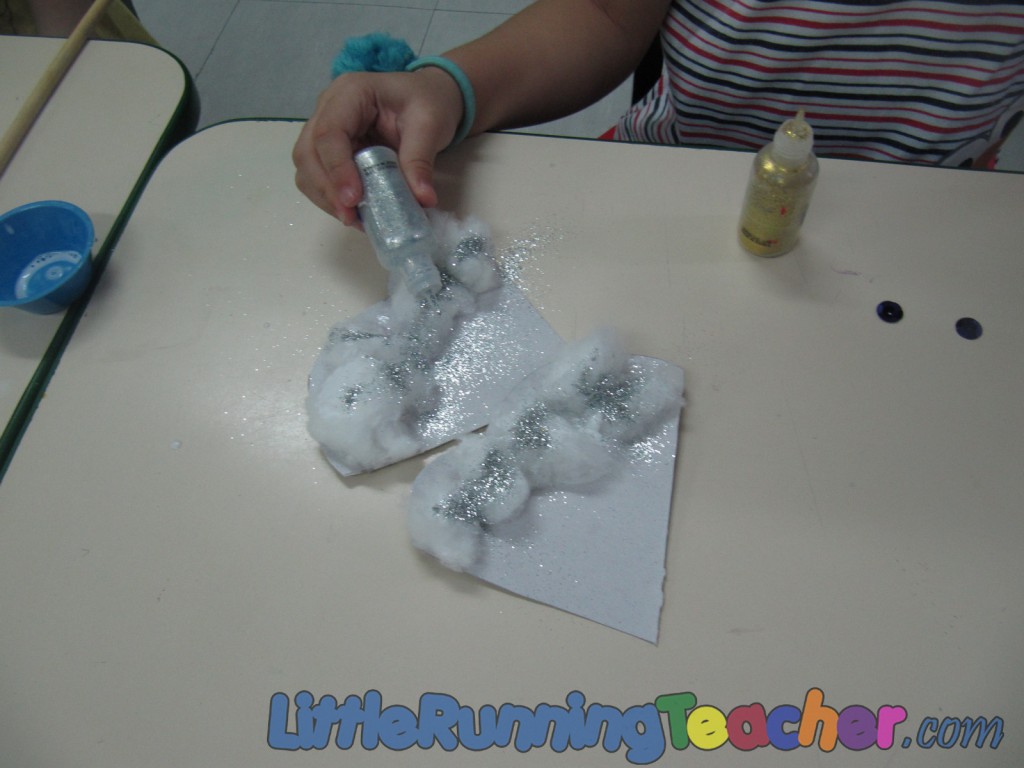
Step 2 (WINGS): Paint the cotton with glue+water mixture and sprinkle with glitter
–
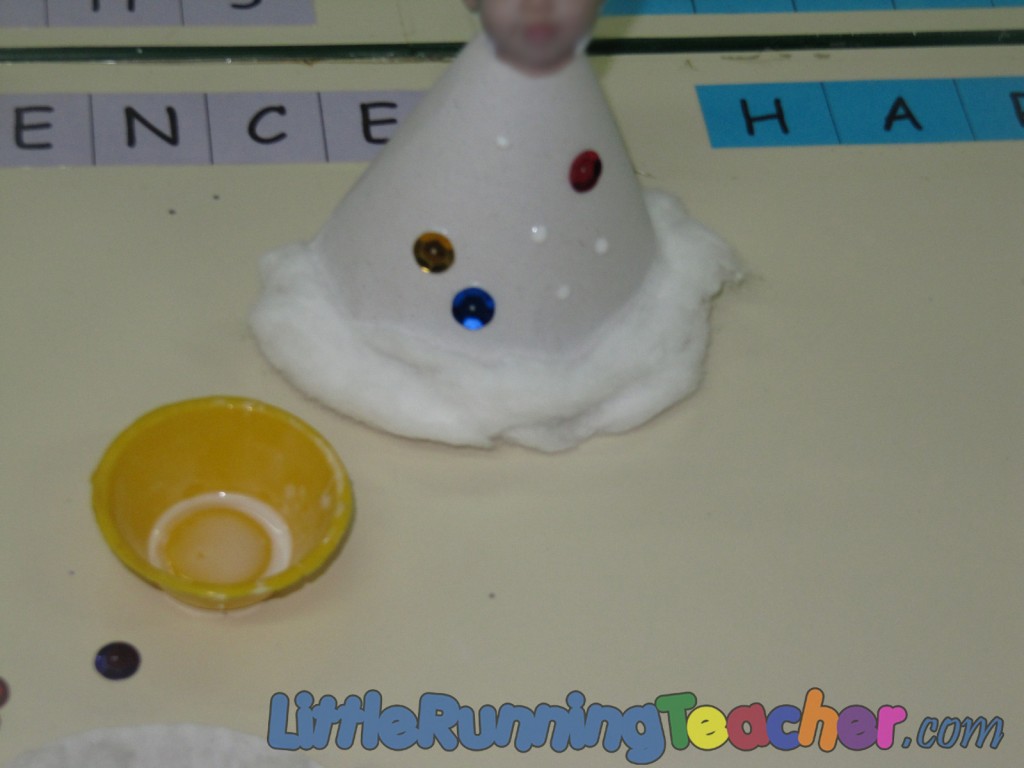
Step 3 (BODY): Decorate the angel’s body using sequins and cotton
–
Step 4 (BODY): Paint the cotton with glue+water mixture and sprinkle glitter
–
FINAL TOUCHES (by the Teacher)
- Make a halo using the fuzzy wire and tape it to the back of the pictures
- Punch a hole on each wing and insert the yarn.
- Hang it in your classroom or at home! Merry Christmas! :)


