What can your hands do? My hands can clap! My hands can roll! My hands can shake! My hands can tap! This was basically how we started our topic on hands! There were even kids who started saying that their hands can WALK. This led us to start trying a variety of nonsense things. We tried walking with our hands; we tried feeding our hands; we tried looking with our hands and more! The kids had so much fun acting silly, trying to let their hands do random stuff!
Shortly after, we sang the classic I Have Two Hands and compared each others hands. The children enjoyed doing high-fives with their teachers so if you have a big class, get those palms ready for several high fives! And finally, it was time for our art activity! Time to make our hand print paperweights!
.
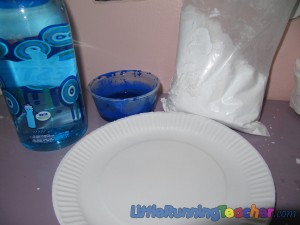
What you will need:
- A big round/deep container or a paper plate
- Water
- Plaster of Paris (You can buy this in any story that sells dental supplies)
- Paint and paintbrush
.
.
The Preparation
Make sure the container you use is easily bendable or slippery, otherwise, the plaster of paris would stick to the container once it’s dried. In our case, we used a paper plate. The thing that makes this harder is that you have to keep molding and fixing it while it dries so the structure would not break. Also, since a paper plate is not at all deep, you have to make sure that the mixture is thick enough.
.
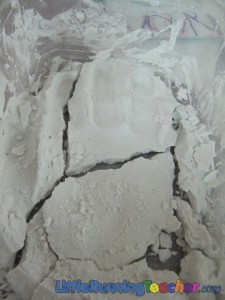
Step 1: Call the first child up. Pour the plaster unto the container/paper plate. Add on some water. The mixture is usually 3 parts plaster and 1 part water, but it’s always better to experiment first before you try it out on the kids. Too much water will take too long to dry, while too little water will cause it to easily break and crack. Once the drying process begins, it dries rather quickly. So make sure that the child is nearby.
______________________This is what happens when there isn’t enough water
.
Step 2: Continuously mold the powder. Make sure that the center is thick enough, else it might break when the child places his/her hands.
.
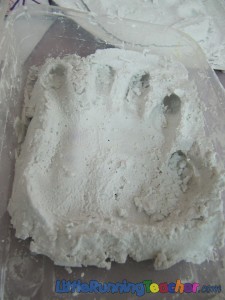
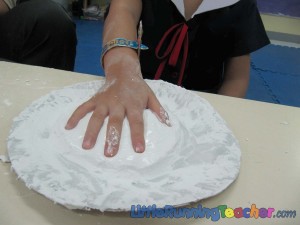
Step 3: If you feel that the plaster of paris is already a little hard that it no longer “drips” and can already “stand its ground”, then you can already call the first child to place his/her hands. Make sure it is NOT too hard though, else the child would no longer be able to leave his hand print.
.
.
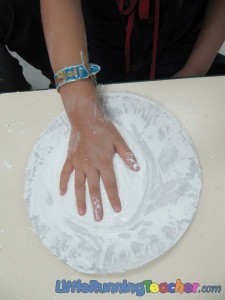
Step 4: Make sure the child keeps his/her hand still and do not let him/her press all the way to the bottom. This should take less than 5minutes, depending on the drying process.
.
Step 5: Allow the plaster of paris to dry a little bit more, and once it has slightly hardened up more than previously, you may take out the child’s hand and leave the moldings to dry up on its own.
.
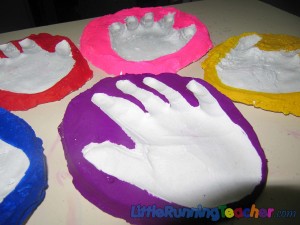
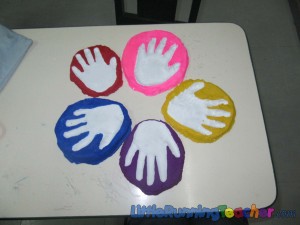
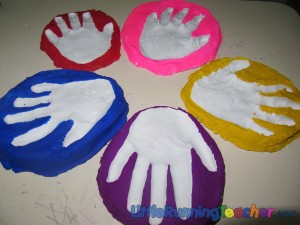
Step 6: After an hour or so, the moldings should be as hard as stone (But do not try to drop it because I swear it will break!). You may let the child paint the paperweight, or in our case, the teachers were the once who painted the outline to make the hand prints stand out! It serves as a great display for the classroom or home! I sure would want to have one of these to remember my child by someday.
.
.


