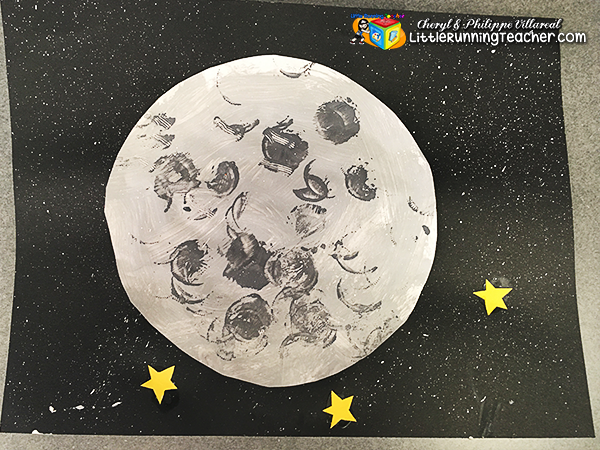
When learning about Day and Night, there are a variety of activities the kids can do. For this article however, I’m going to focus on the art. Children are so used to the moon’s crescent shape, that creating a full moon art was actually surprising to them. Some even told me the moon wasn’t round. I of course grabbed this opportunity to talk about the different phases of the moon. An experiment with a styrofoam ball and a flashlight would also be awesome.
Once the class understood that part, we proceeded to do our full moon art. We used a variety of everyday tools to make our night sky. The kids enjoyed using a water bottle and a toothbrush to complete the art. I did however need to remind them several times that we aren’t using the toothbrush to brush our teeth today. (heehee)
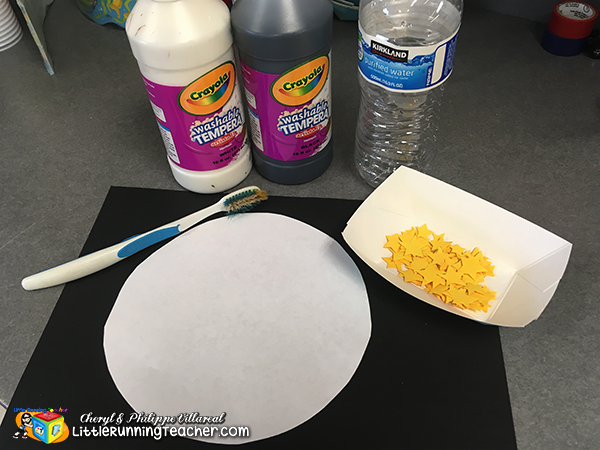
What you will need:
- Circle Shape (for the moon)
- Small Star Cutouts
- Toothbrush
- Black Paper
- Empty Bottle
- White Paint
- Black Paint (or gray paint)
What to do:
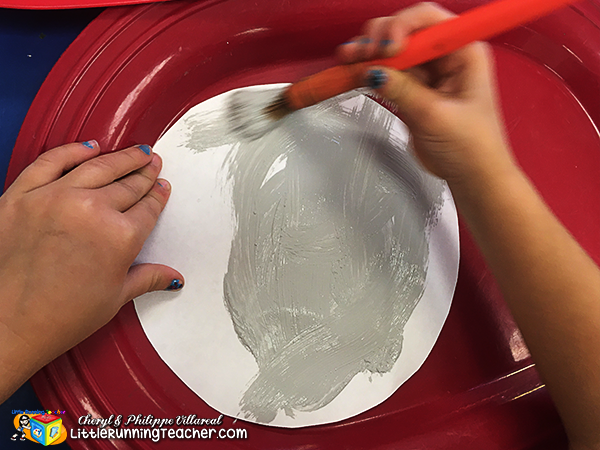
Step 1: Have the children paint the circle (moon) with light gray paint
–
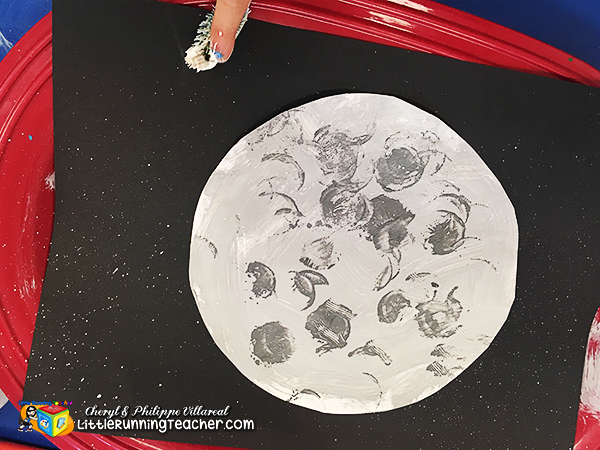
Step 2: Using the mouths of the empty bottles, create small circles or craters on the moon with a darker shade of gray. (add a little more black to the mixture)
–
Step 3: Glue the moon to the black piece of paper
–
Step 4: Use the toothbrush to splatter some white paint unto the picture. These will be the billions of stars in the galaxy!
–
–
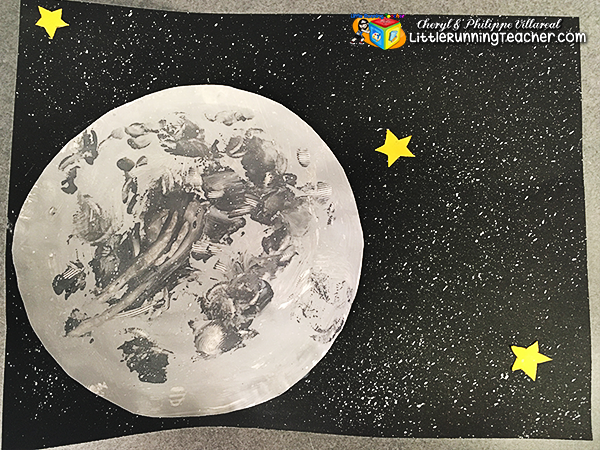
Step 5: For added effect, add small star cutouts on your unto the picture
–
Doesn’t that night sky just look gorgeous? The kids loved doing it, and the parents couldn’t believe their kids did it! A simple art work with beautiful results! Go try it out yourself. Do share how it goes for you in the comments below.
–
–


