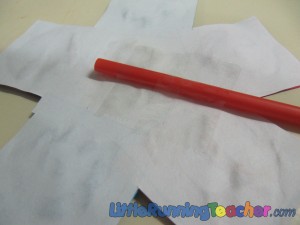
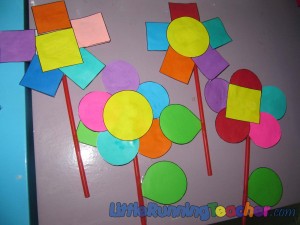
I’ve seen several different ways to make flowers… but we wanted to make something 3D! So after several experiments trying to come up with something easy for little hands to make… we came up with this!
Not only do the kids get to make flowers… but they get to review shapes while doing it! We’re actually on the topic of squares this week, and had just finished our discussion on circles. Hence, we used the square and circle shape. Of course if you wish to use more shapes, then let your creativity flow!
.
What you will need:
- Square cut-outs of different colors
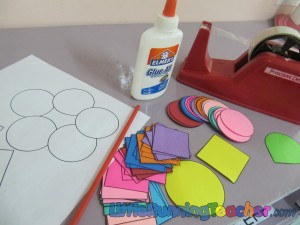
- Circle cut-outs of different colors
- 1 Larger square and circle for the center of the flower
- Cut-out leaf
- Drinking straw or Popsicle Stick
- Scotch Tape
- Glue
- Scissors
- Pattern Outline (for the younger kids)
.
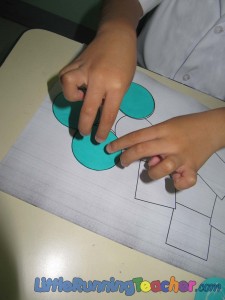
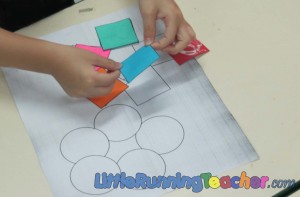
STEP 1: Let the children select the colors they wish to use and glue these to the outline provided. Glue the “petals” before the center piece
.
For younger children, such as our toddlers, an outline of the flower pattern might make it easier for them. However, for older children, let them do their work freely and allow them to practice their creativity. Probably just showing them what the flower looks like is enough.
(We actually wanted to let the toddlers do it without the pattern, but later realized that it might be too difficult for them, given the number of shapes. If it was done on a 1-on-1 basis, then this might be a little bit more possible.)
.
.
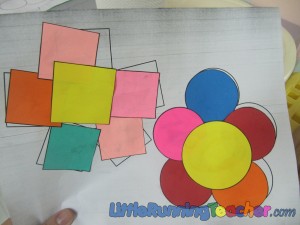
We never gave instructions as to which shape should be placed in the center of each flower. As you observe the children though, you will notice how some of them will automatically sort the shape and place the square with the squares and the circle with the circles (See photo on the left).
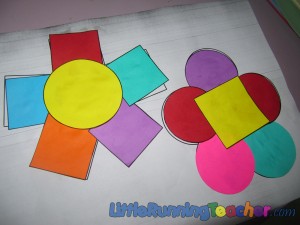
While others will explore their creativity and try a different shape for the center piece (See photo on the right).
.
STEP 2: Cut out the flowers. Teachers need to assist the younger ones in doing this
.
STEP 3: Tape the straw to the back of the flower and the leaf to the straw
.
STEP 4: Enjoy!
.
Other Suggestions:
You may also spray a little perfume on the flowers and let them smell it. This way tapping also their sense of smell. :)


