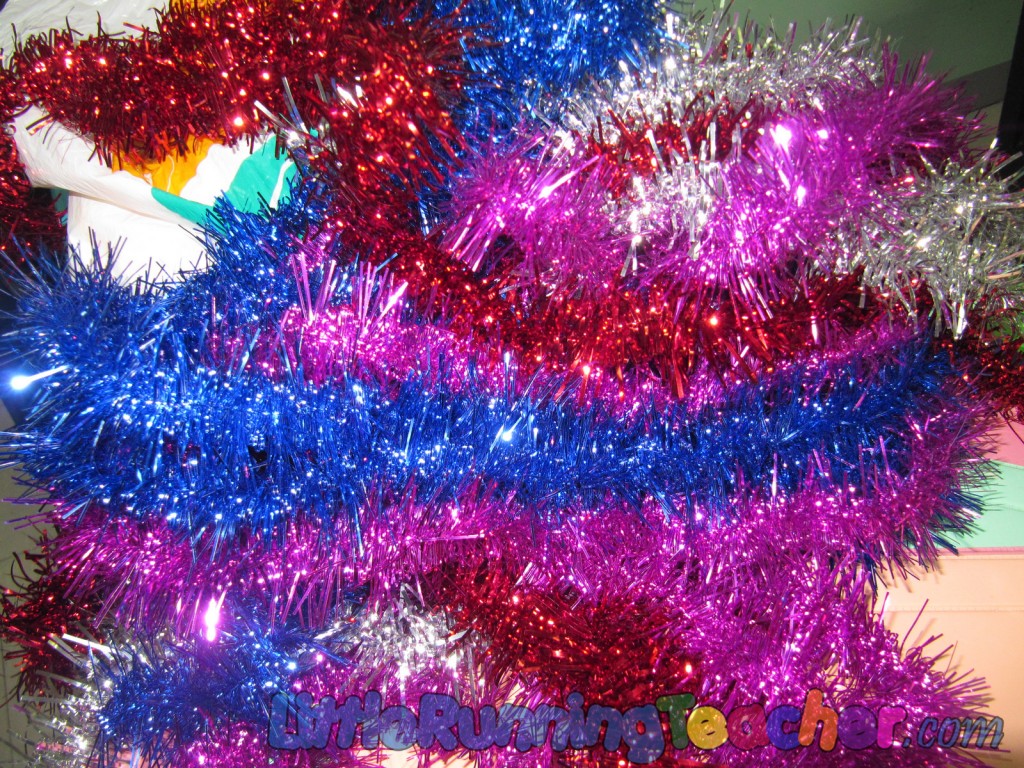
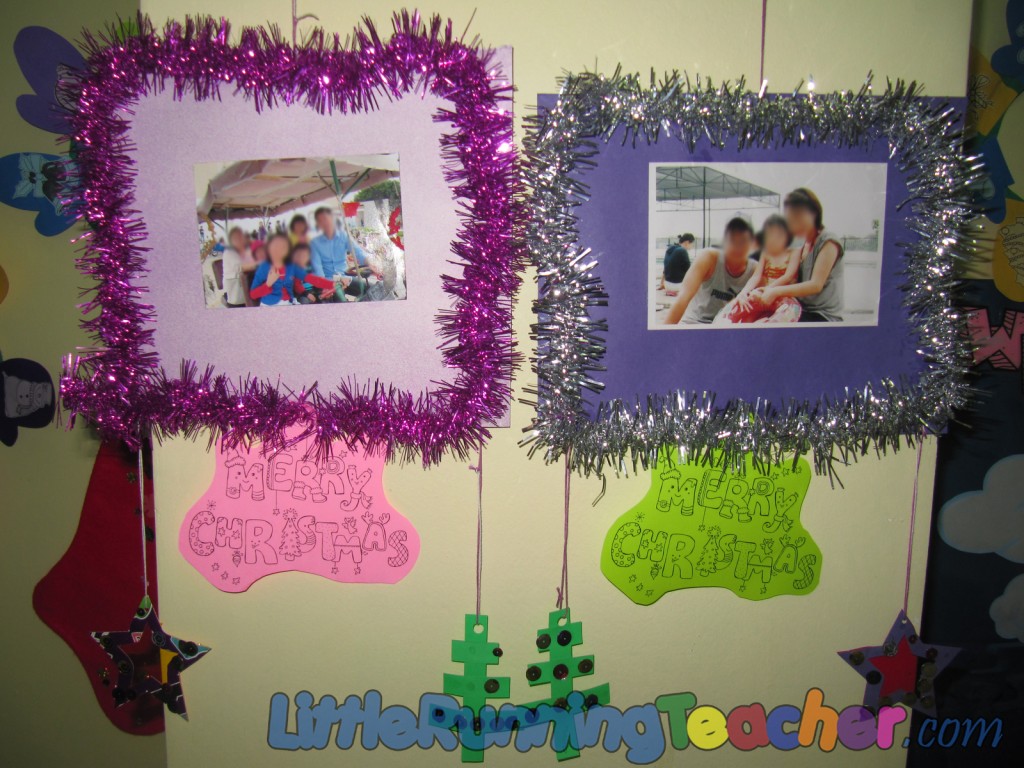
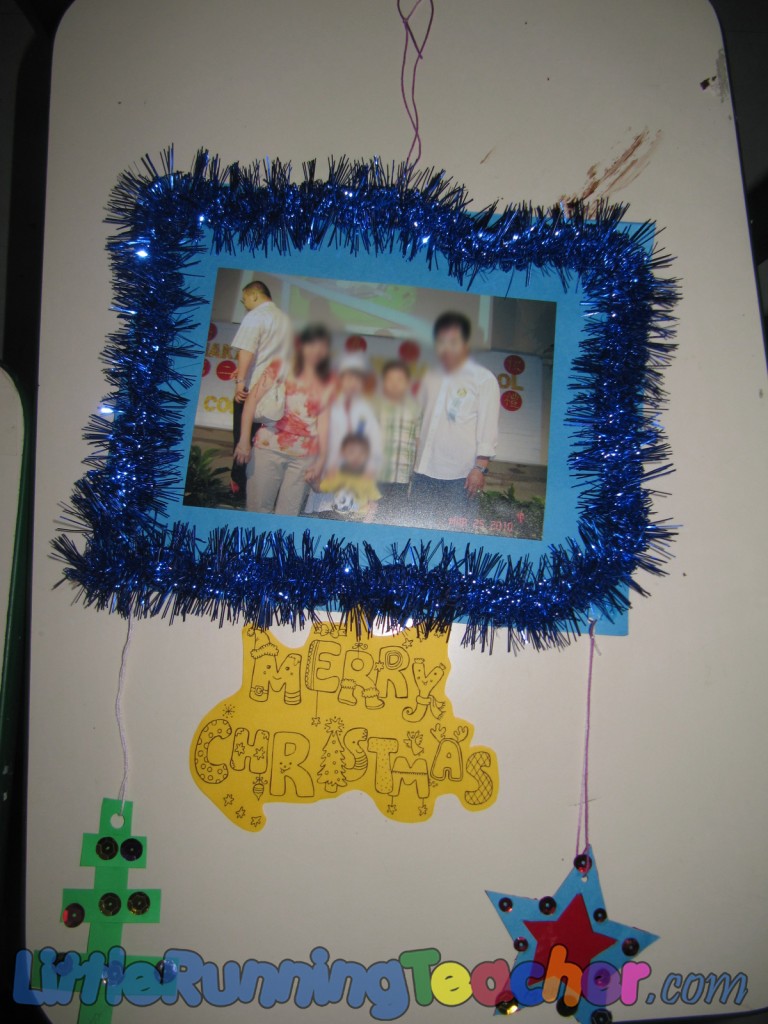
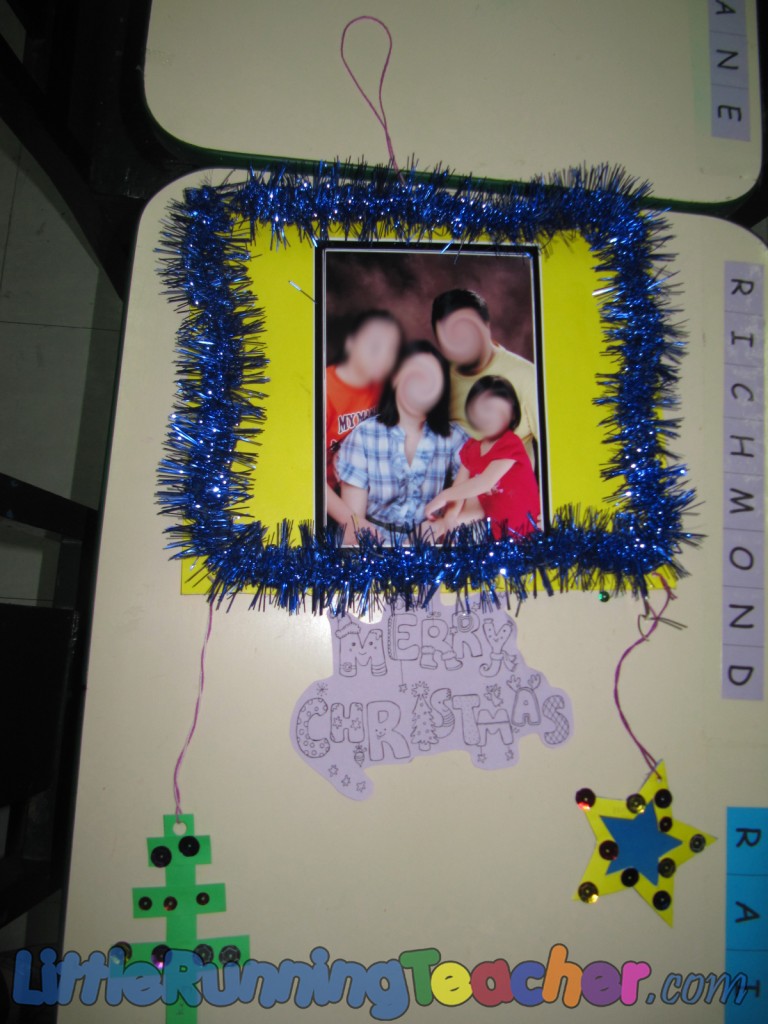
First of all, I’m really not sure what to call this! My partner and I saw an ornament via the internet where in they used a hanger and hung other stars below. We liked the idea but decided to try something else. So instead of a simple wrapped up hanger, we decided to make a frame using tinsel.
*Note: This is a 2 to 3 day activity. Let the child do each part per day. It would be tiring to finish them all in just one day.
–
What you will need:
- Tinsel
- Colored Cardboard
- Family picture
- Sequins
- Cellophane (optional)
- Green and other Colored Construction paper
- Yarn
- Glue
- Scissors
- Merry Christmas print out
–
TEACHER’S PREPARATION
- Cut out the cardboard to just the right size as the photo. Remember to leave space for the tinsel/frame
- Measure the tinsel around the frame and trim it down to the right length
- Cut out strips of green paper for the mini tree. 4 strips, each strip longer than the other. The longest strip will be used for the base.
- Cut out a star.
- Optional: Cut out a hole in the center of the star and cut out cellophane that will later on cover this hole.
- Print out a Merry Christmas text
–
KID’S TURN
MINI TREE:
Glue the strips together to make a tree and glue some sequins to decorate it
MINI STAR:
Glue the cellophane on the star and sequins around the star.
FRAME:
Glue the picture to the center of the cardboard
Glue tinsel around the cardboard. Press hard so it will stick.
–
FINAL TOUCHES
Punch holes on the frame and tiny ornaments. Use a piece of yarn of thread to tie them together.
–
I wasn’t able to take too many pictures this time around, but hope the finished product says it all.
Happy Holidays everyone!
–


