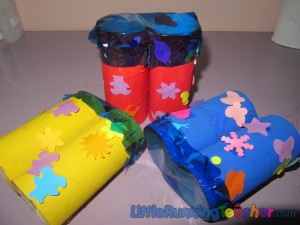
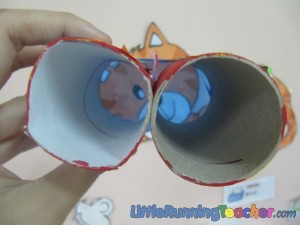
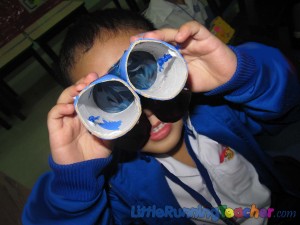
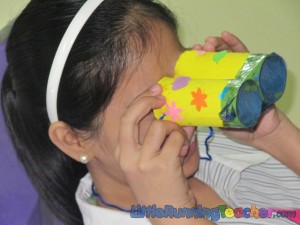
After reviewing what our eyes can do, we decided to let the kids goof around with some binoculars! If you have real binoculars, it’d be great to let them try the real thing before the activity! This would be a first for several of them! My past students would usually take a second look through the binoculars because they can’t understand why things are suddenly appearing closer or farther! Afterward, let them make their own to play with! And of course, we had to add a little twist!
.
Let the kids see the world differently with these colorful binoculars!
.
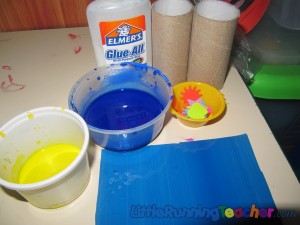
- Tissue tube
- Paint
- Craft punch
- Glue
- Cellophane paper
- scissors
- Yarn
.
.
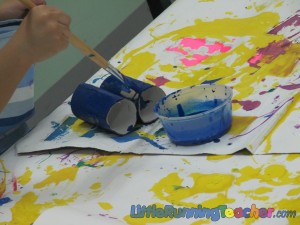
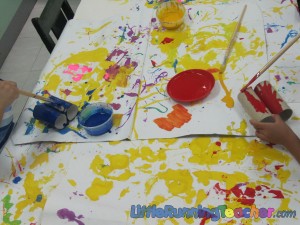
Step 1: Have the kids paint the tissue tubes with their desired colors.
.
.
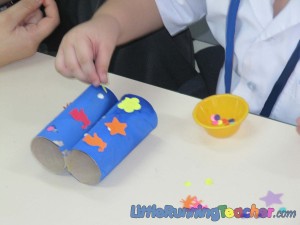
Step 2: After it has dried, hand them over some craft punches to decorate the tissue tubes
.
Step 3: Once dry, help the kids glue on the cellophane to one end of the tissue tube. Glue actually works better than rubber bands! We had to do this part for the toddlers, however, older children might be able to do it with just a little help.
.
Step 4: Punch 2 holes on the tissue tubes and insert the yarn/ribbon which may be used later on to hang the binoculars around their neck
.
Step 5: Let the kids play a game using the binoculars!
Try it yourself!
.
______Oops! Wrong side! ______________________________________Teacher playing with the kids!
.
TIPS: You can have a jungle safari or go hunting! In our class, we tried to look for various objects as suggested by each student.
“Where’s the toy car?”and everyone rushes around the room using their binoculars finding the toy car! It was really a lot of fun! Just make sure the paint is dry before you let them use it, else they’ll have rings on their eyes!


